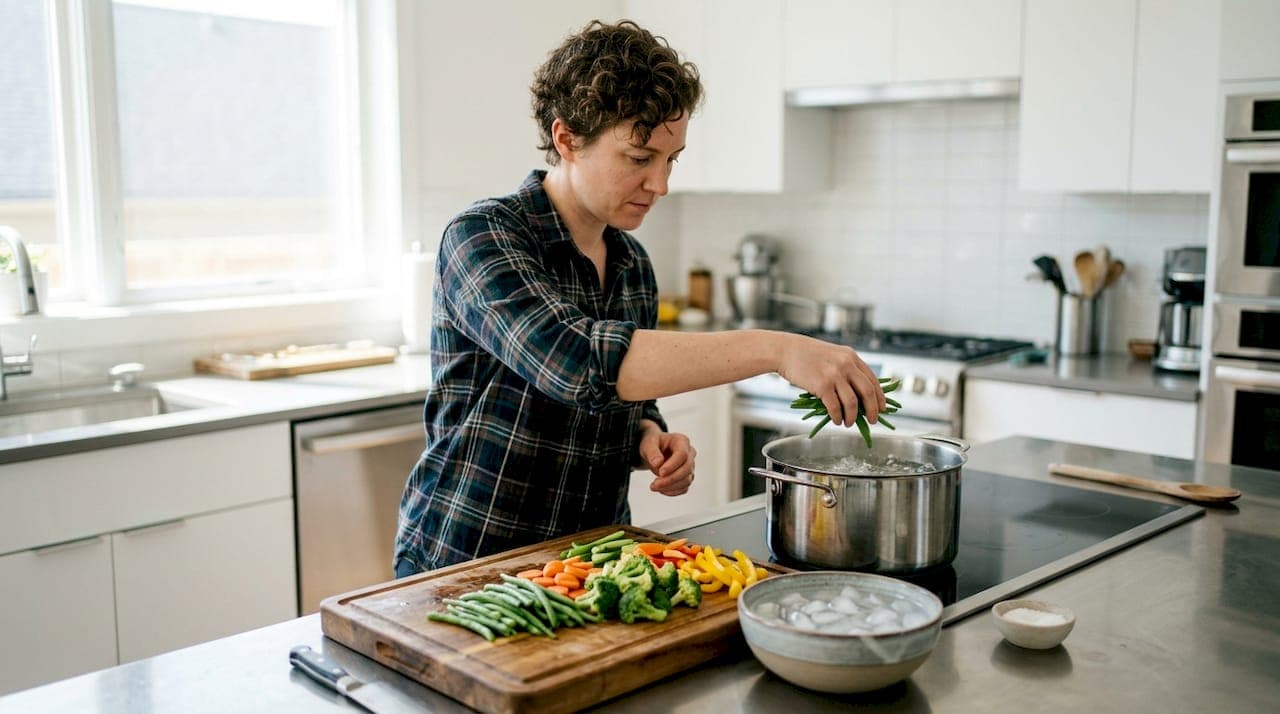
Blanching is defined as a two-step cooking technique where you briefly boil vegetables and then immediately cool them in ice water to stop the cooking process. This method preserves color, flavor, texture, and nutrients, making it one of the most useful skills for anyone learning to cook or prep meals at home. Whether you want to know how to blanch vegetables before freezing a big batch of green beans or just want brighter broccoli for dinner, this guide walks you through every step with clear instructions and expert-backed timing.
How to blanch vegetables: what it is and why it works
Blanching deactivates enzymes that cause vegetables to lose flavor, texture, color, and nutrients during storage, according to the Academy of Nutrition and Dietetics. Those enzymes keep working even after you harvest a vegetable, slowly breaking it down. Blanching stops that process cold, literally.
The goal of blanching is not to fully cook your vegetables. The Academy of Nutrition and Dietetics confirms that blanching stabilizes vegetables for freezing without cooking them through. That distinction matters because overcooked vegetables turn mushy in the freezer, while properly blanched ones stay firm and bright.
This technique is used by home cooks and professional chefs alike. It is the standard prep step before freezing, and it also works well for recipes that call for partially cooked vegetables, like stir-fries, pasta dishes, and grain bowls.
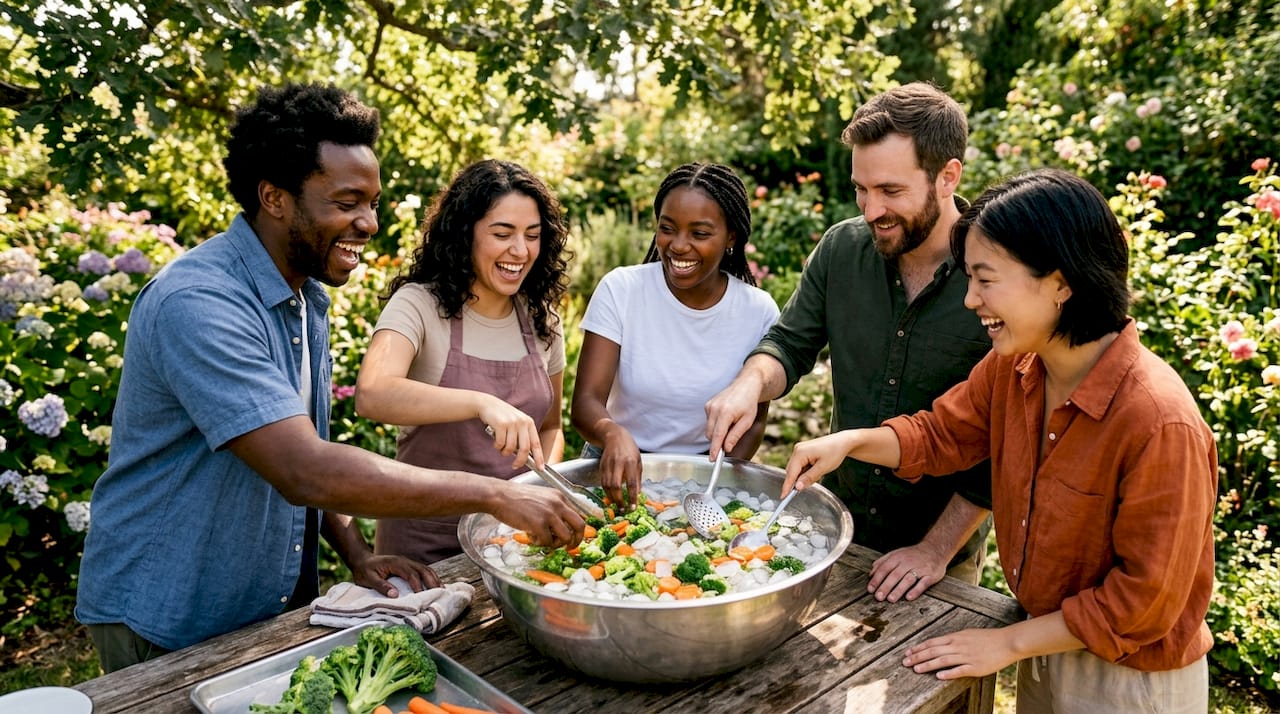
What equipment and prep do you need before you start?
Getting your setup right before you turn on the stove saves time and prevents mistakes. Blanching moves fast, so having everything ready in advance is the key.
Equipment you need
- A large pot (at least 6 quarts) with a lid
- A blanching basket, spider strainer, or slotted spoon
- A large bowl filled with ice water
- A colander for draining
- A timer (your phone works fine)
- Clean kitchen towels or paper towels for drying
Preparing your vegetables
Wash all vegetables thoroughly under cold running water. Trim any tough ends, peel if needed, and cut into uniform pieces. Uniform size matters because uneven pieces cook at different rates, and some will be under-blanched while others are overdone.
Water and ice quantities
Colorado State University Extension recommends 1 gallon of water per pound of vegetables during blanching. That ratio keeps the water at a rolling boil when you add the vegetables. Too little water drops the temperature and leads to uneven results.
For cooling, use 1 pound of ice per pound of vegetables in your ice bath. That amount keeps the water at or below 60°F, which is cold enough to stop cooking quickly. Skimping on ice is one of the most common beginner mistakes.
| Vegetable weight | Water needed | Ice needed |
|---|---|---|
| 1 pound | 1 gallon | 1 pound |
| 2 pounds | 2 gallons | 2 pounds |
| 3 pounds | 3 gallons | 3 pounds |
What are the steps to blanch vegetables correctly?
Follow these steps in order. Blanching is a fast process, so stay focused once you start.
-
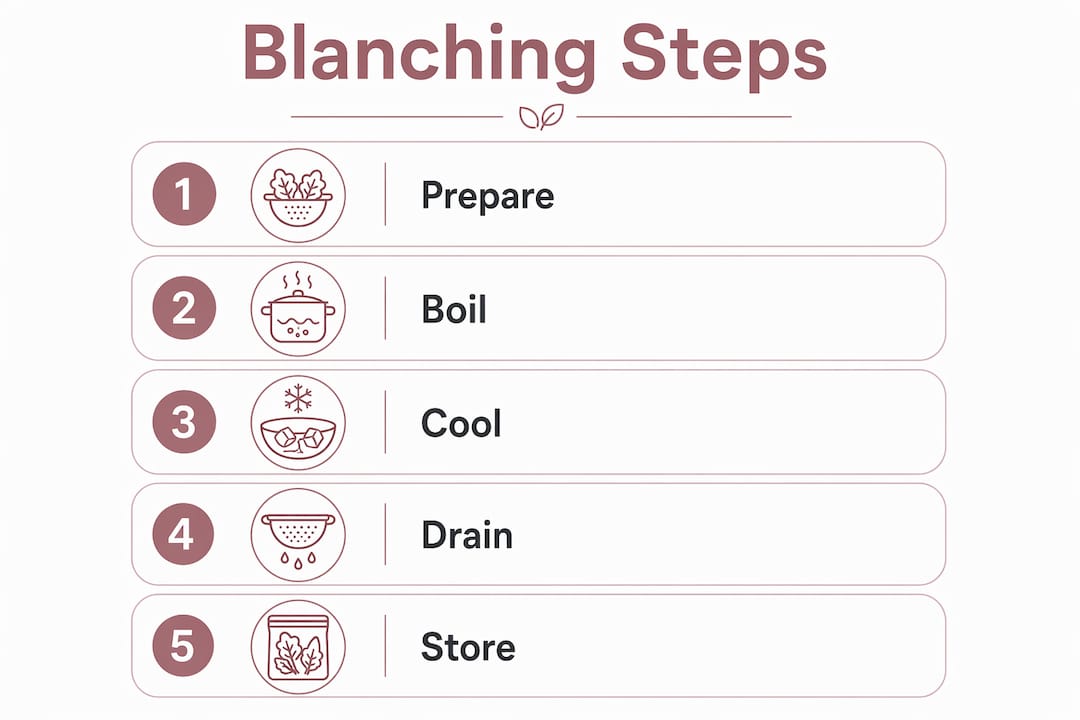
Fill your pot and bring it to a full rolling boil. A rolling boil means large, vigorous bubbles that do not stop when you stir. This is not the same as a gentle simmer.
-
Salt the water (optional but recommended). A tablespoon of salt per gallon of water seasons the vegetables lightly and helps maintain their color.
-
Prepare your ice bath. Fill a large bowl with cold water and add your ice before the vegetables go into the pot. The bath needs to be ready the moment the vegetables come out.
-
Add vegetables to the boiling water. Work in small batches so the water returns to a boil quickly. Overcrowding the pot drops the temperature and ruins the blanch.
-
Start your timer immediately. Colorado State University Extension is clear: start timing when vegetables enter the water, not when it returns to a boil. This is a common point of confusion for beginners.
-
Blanch for the correct time. Here are standard times for common vegetables:
- Green beans: 3 minutes
- Broccoli florets: 3 minutes
- Carrots (sliced): 2 minutes
- Corn (whole ear): 7–11 minutes
- Spinach and leafy greens: 2 minutes
- Asparagus (medium): 3 minutes
- Zucchini (sliced): 3 minutes
-
Transfer immediately to the ice bath. Use your spider strainer or slotted spoon to move vegetables quickly. Every second of delay means more cooking.
-
Cool for the same amount of time. Colorado State University Extension recommends that cooling time should equal heating time to fully stop cooking. If you blanched for 3 minutes, cool for 3 minutes.
-
Drain and dry. Remove vegetables from the ice bath and spread them on a clean towel. Pat them dry before storing or freezing.
Pro Tip: If you prefer to retain more vitamins, try steam blanching instead of water blanching. Colorado State University Extension notes that steam blanching retains more water-soluble vitamins but takes about 50% longer than water blanching. For most beginners, water blanching is the easier starting point.
What mistakes should you avoid when blanching vegetables?
Most blanching problems come down to timing and temperature. Here is what to watch for.
-
Under-blanching is worse than skipping it entirely. Colorado State University Extension warns that under-blanching stimulates enzyme activity, which speeds up quality loss in storage. If you are not sure whether you blanched long enough, go slightly longer rather than shorter.
-
Using too little water. Less than 1 gallon per pound of vegetables causes the water temperature to drop when you add the vegetables. The result is uneven blanching and a soggy texture.
-
Not having the ice bath ready. If you scramble to fill the bowl after the vegetables are done, they keep cooking on the way over. Prep the ice bath first, every time.
-
Overcrowding the pot. Adding too many vegetables at once drops the water temperature and prevents even cooking. Work in batches if you have more than a pound to blanch.
-
Skipping the drying step. Wet vegetables form large ice crystals in the freezer, which damages cell walls and leads to mushy texture after thawing.
Properly blanched vegetables should be bright in color, slightly tender but still firm, and not limp or dull. If your broccoli looks gray or your green beans feel soft right out of the pot, you have gone too long. Trust your eyes and your hands as much as your timer.
How do you use blanched vegetables for meal prep and freezing?
Blanching fits naturally into a weekly meal prep routine. Once you have a batch of blanched vegetables ready, you have a head start on multiple meals throughout the week.
Packing methods for freezing
Two packing methods work well for frozen blanched vegetables.
| Method | How it works | Best for |
|---|---|---|
| Dry pack | Pack dried vegetables directly into freezer bags or containers | Most vegetables, especially small pieces |
| Tray pack | Spread vegetables on a baking sheet, freeze until solid, then bag | Vegetables you want to keep separate, like peas or corn |
The tray pack method prevents vegetables from clumping together in the bag. That makes it easy to grab exactly the amount you need without thawing the whole batch.
Storage and labeling
Label every bag with the vegetable name and the date. Most blanched vegetables keep well in the freezer for 8–12 months when stored properly. After that, they are still safe to eat but the quality drops.
Pro Tip: Dry your vegetables thoroughly before freezing. Excess moisture is the main cause of freezer burn and mushy texture after thawing. A salad spinner works well for leafy greens, and a clean kitchen towel handles most other vegetables.
Blanched vegetables also work great in easy dinner recipes throughout the week. Toss them into pasta, stir-fries, soups, or grain bowls without any additional prep. That is the real payoff of spending 20 minutes blanching on a Sunday afternoon.
Key Takeaways
Blanching vegetables correctly requires the right water-to-vegetable ratio, precise timing, and an ice bath ready before the vegetables hit the pot.
| Point | Details |
|---|---|
| Water ratio matters | Use 1 gallon of boiling water per pound of vegetables to maintain temperature. |
| Ice bath is non-negotiable | Use 1 pound of ice per pound of vegetables to keep the bath at or below 60°F. |
| Start the timer immediately | Begin timing the moment vegetables enter the water, not when it returns to a boil. |
| Under-blanching is risky | Insufficient blanching stimulates enzyme activity and speeds up quality loss in storage. |
| Dry before freezing | Wet vegetables form ice crystals that damage texture; always pat dry before bagging. |
Why blanching changed how I think about cooking at home
The first time I blanched green beans, I was skeptical. Boiling something and then throwing it in ice water felt like extra work for no reason. Then I pulled those beans out of the freezer three months later and cooked them for dinner. They were bright green and still had a snap to them. That was the moment I understood why the technique exists.
What I tell every beginner is this: start with green beans or broccoli. They are forgiving, the timing is short, and the results are obvious. You will see the color pop the second they hit the ice bath. That visual feedback builds confidence fast.
The biggest mistake I see new cooks make is guessing at timing. Get a timer on your phone and use it every single time. The difference between 2 minutes and 4 minutes on broccoli is the difference between crisp and mushy. Once you have done it a few times with a timer, you start to develop a feel for it.
One tool worth having is a spider strainer. It lets you move vegetables from boiling water to ice bath in seconds, which matters more than most people realize. A slotted spoon works, but a spider is faster and easier to control.
— William
Ready to build real cooking skills?
Learning to blanch vegetables is one of those skills that pays off every week. Once you have it down, your meal prep gets faster, your freezer becomes more useful, and your dinners taste better.

Adultingwithfood is built for exactly this kind of learning. The Adulting With Food Starter Pack gives you the tools, recipes, and real chef support to go from unsure to confident in the kitchen. You get weekly recipe drops, grocery checklists, and step-by-step guidance on techniques just like this one. If you are ready to stop guessing and start cooking real meals at home, Adultingwithfood has everything you need to get there.
FAQ
What is blanching and why do you do it?
Blanching is a two-step process of briefly boiling vegetables and then cooling them in ice water. It deactivates enzymes that cause vegetables to lose flavor, color, and nutrients during storage.
How long do you blanch vegetables?
Blanching time depends on the vegetable. Green beans and broccoli take about 3 minutes, sliced carrots take 2 minutes, and corn on the cob takes 7–11 minutes.
Do you have to blanch vegetables before freezing?
Blanching before freezing is strongly recommended. Skipping it allows enzymes to keep breaking down the vegetable, and under-blanching is actually worse than no blanching at all because it stimulates enzyme activity.
How much water and ice do you need for blanching?
Use 1 gallon of boiling water per pound of vegetables and 1 pound of ice per pound of vegetables in the cooling bath. These ratios maintain the right temperatures throughout the process.
Can you blanch vegetables without an ice bath?
You can, but the results will be poor. Without an ice bath, vegetables keep cooking from residual heat and lose the bright color and firm texture that blanching is meant to preserve.