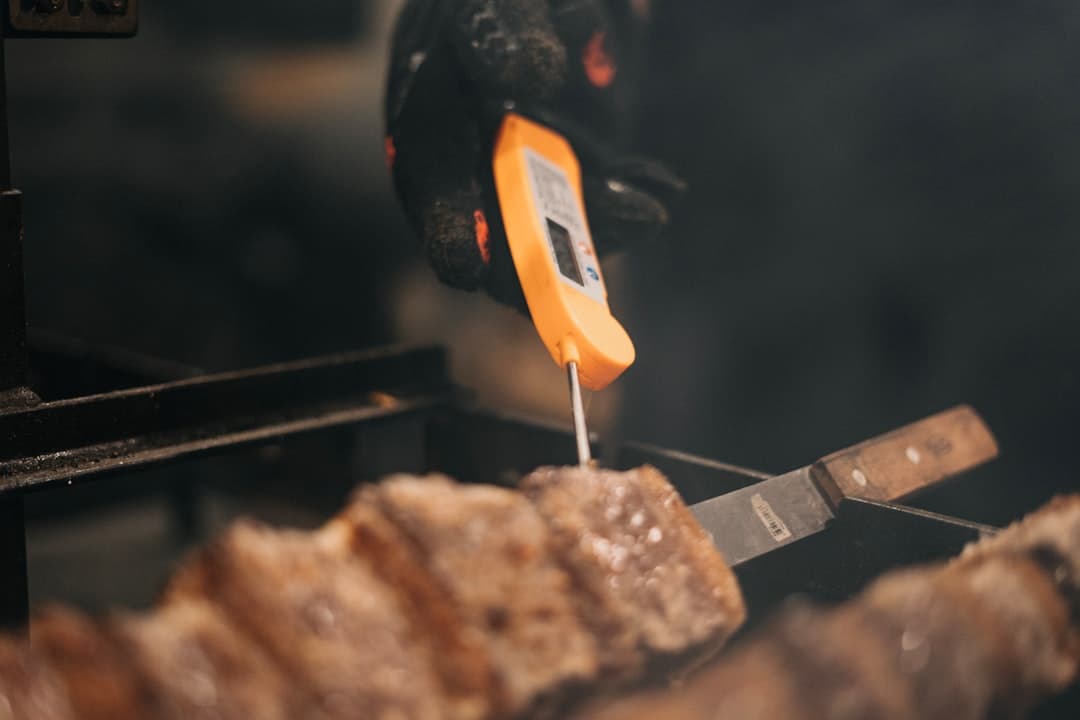
The USDA/FSIS minimum safe internal temperatures every home cook needs to know are: 165°F (74°C) for all poultry, 160°F (71°C) for ground meats and egg dishes, 145°F (63°C) + 3-minute rest for steaks, chops, roasts, and fish, and 165°F (74°C) for leftovers and casseroles. These numbers are not suggestions. They are the federal minimums that separate a safe meal from a foodborne illness risk.
Here is the quick-reference breakdown:
-
All poultry (whole, ground, or pieces): 165°F / 74°C
-
Ground beef, pork, lamb, veal: 160°F / 71°C
-
Beef, pork, lamb, veal steaks/chops/roasts: 145°F / 63°C + 3-minute rest
-
Fish and shellfish: 145°F / 63°C
-
Egg dishes and casseroles: 160°F / 71°C
-
Leftovers and casseroles (reheating): 165°F / 74°C
-
Hot holding (buffets, serving): 140°F / 60°C or warmer
-
Cold holding (refrigerator, ice): 40°F / 4°C or colder
The FSIS food-safety basics also state that perishable food should not sit at room temperature for more than 2 hours, or 1 hour when the ambient temperature exceeds 90°F.
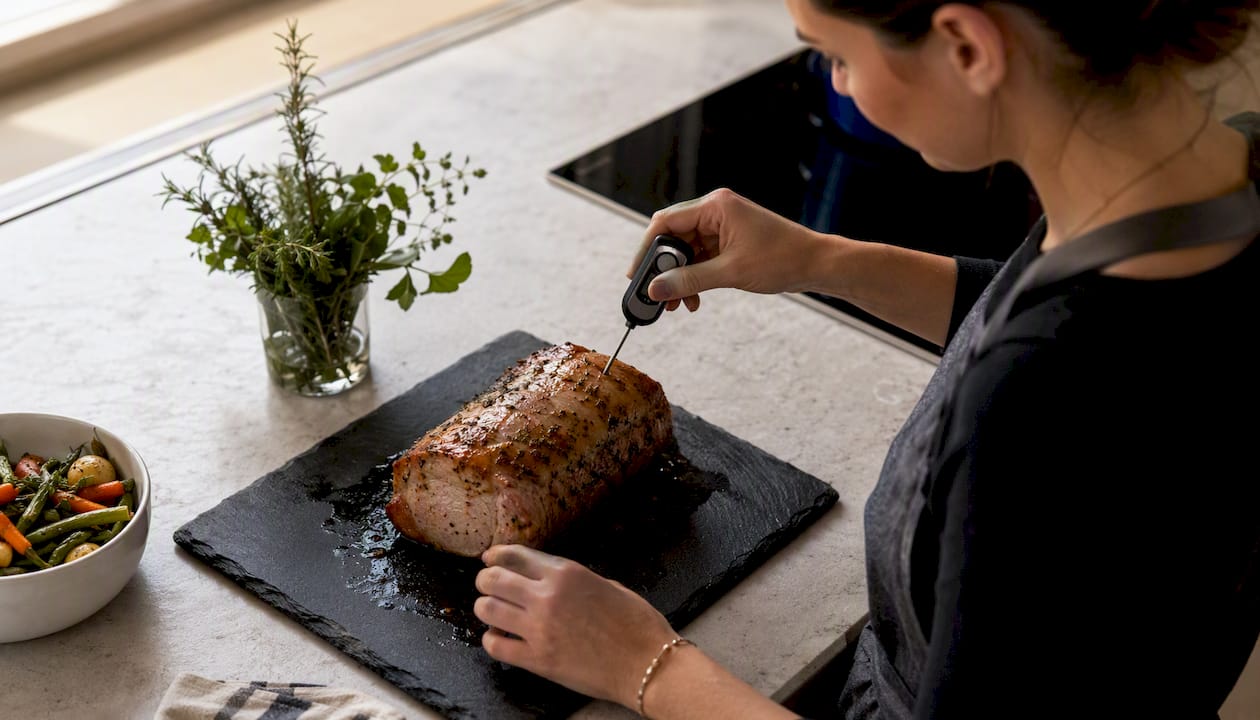
Pro Tip: Always probe the thickest part of the food, away from bone and fat. That is the coldest point, and the one that determines whether the whole piece is safe.
Key Takeaways
The single most important habit in safe cooking is using a thermometer every time, targeting the USDA minimum internal temperatures for each food category, and respecting rest times for whole-muscle cuts.
| Point | Details |
|---|---|
| Core temperature targets | Poultry: 165°F; ground meats and egg dishes: 160°F; steaks/chops/roasts and fish: 145°F + 3-minute rest. |
| Leftovers always need 165°F | Reheat all leftovers and casseroles to 165°F regardless of cooking method. |
| Danger zone rule | Keep food out of 40°F–140°F for no more than 2 hours (1 hour above 90°F ambient). |
| High-risk groups | Pregnant women, seniors, young children, and immunocompromised individuals should follow minimums strictly and reheat deli meats and leftovers to 165°F. |
| AdultingintheKitchen | The membership builds thermometer habits and safe-temperature skills through weekly chef-guided recipes and direct support. |
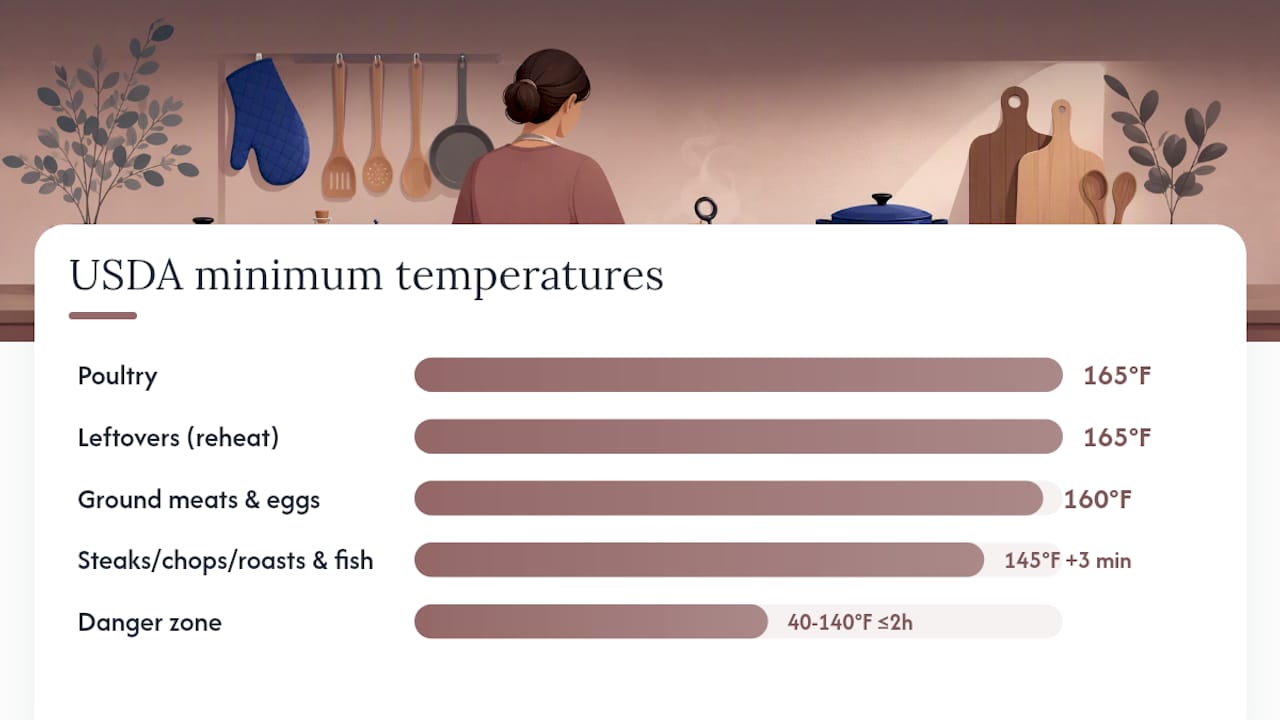
Table of Contents
-
What is the danger zone, and how does time affect food safety?
-
A beginner’s workflow for safe-temperature cooking every time
-
AdultingintheKitchen makes safe cooking a skill you actually build
What are the safe cooking temperatures for every food?
The table below reflects USDA/FSIS minimum internal temperature guidance and Temperatures. These are safety floors. You can always cook higher for personal preference, but you cannot cook lower and call it safe.
A few things worth noting. The USDA frames every number here as a minimum, meaning these are the lowest temperatures at which the food is considered safe. For whole-muscle cuts like a pork chop or beef roast, the 3-minute rest is not optional. It is part of the safety equation, not just a texture tip. Carryover cooking during that rest often raises the internal temperature another 5°F, which is a bonus, but the rest time itself is what completes pasteurization at the surface and interior.
For ham reheating, the distinction matters. A fully cooked ham packaged at a USDA-inspected plant only needs to reach 140°F. Any other fully cooked ham, including one from a local butcher or a ham you cooked yourself and are reheating, should reach 165°F to be safe.
How do you use a food thermometer correctly?
Knowing the target temperature is only half the skill. Getting an accurate reading is the other half, and it is where most beginners go wrong.
Types of thermometers for home cooks
-
Instant-read digital thermometers are the best all-purpose choice. They read in 2–3 seconds and work for everything from burgers to whole birds. A good one costs under $30.
-
Leave-in probe thermometers (also called oven-safe thermometers) stay in the food during cooking. They are ideal for roasts and whole poultry where you want continuous monitoring without opening the oven repeatedly.
-
Dial thermometers are slower and less precise. They work in a pinch but are harder to read accurately for thin cuts.
For most home cooks, an instant-read digital thermometer paired with a leave-in probe for large roasts covers every situation. If you are building out your basic cooking tools, a reliable thermometer belongs at the top of that list.
Where to insert the probe
-
Steaks and burgers: Insert horizontally through the side of the patty or steak so the tip sits in the center. Avoid going straight down through the top, which makes it hard to hit the true center.
-
Whole poultry: Check the innermost part of the thigh and the thickest part of the breast, without touching bone. Both spots should read 165°F.
-
Roasts: Insert into the thickest part, away from bone and fat pockets, which conduct heat differently than muscle.
-
Thin cuts (fish fillets, chicken cutlets): Insert from the side so the probe tip sits in the middle of the thickest section.
-
Casseroles and egg dishes: Probe the center, which heats last.
Calibration and cleaning
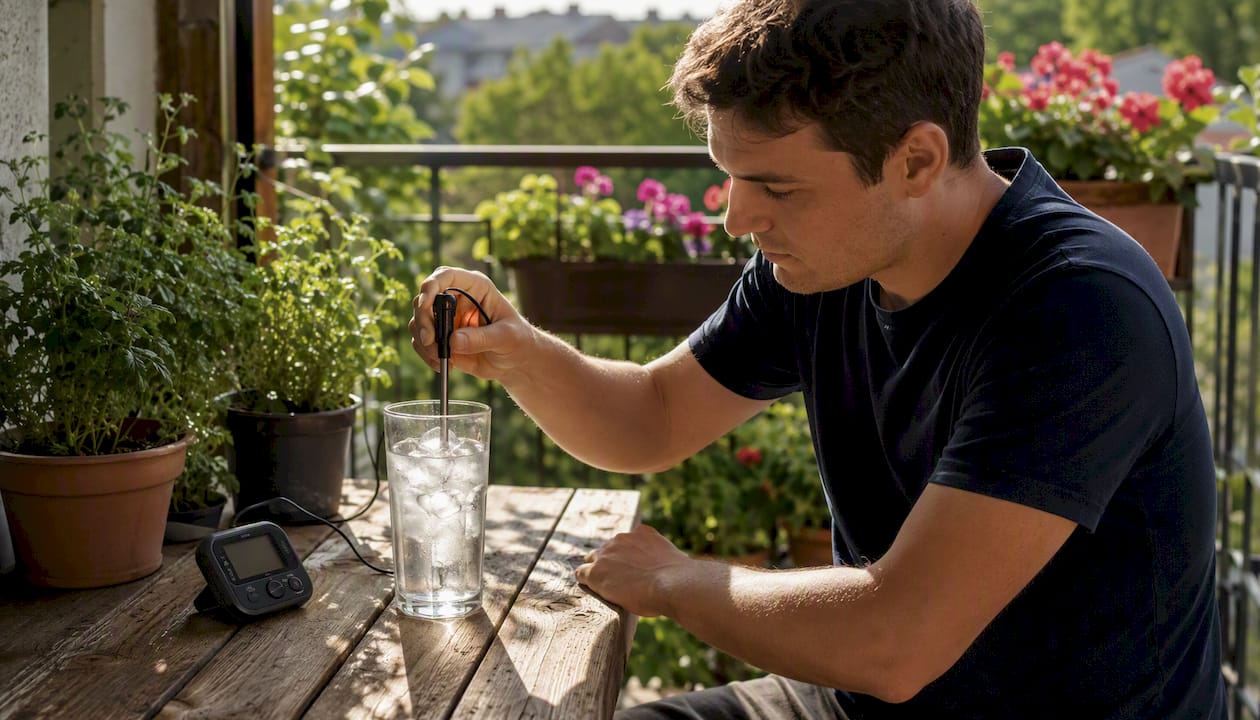
Calibrate your thermometer monthly using the ice-point method: fill a glass with ice and cold water, let it sit for 3 minutes, then insert the probe. It should read 32°F (0°C). If it does not, adjust the calibration nut (on dial models) or use the reset function on digital models. You can also check the boiling point at 212°F (100°C) at sea level, though altitude adjustments apply above 1,000 feet.
Between uses on raw and cooked food, wash the probe with hot soapy water or wipe it with a food-safe sanitizing wipe. Cross-contamination from a probe that touched raw chicken and then cooked chicken is a real risk.
Pro Tip: For large roasts or whole turkeys, check at least two spots. A single reading in one location can miss a cold pocket, especially near a bone cavity.
What is the danger zone, and how does time affect food safety?
Temperature alone does not tell the whole story. Time is the other variable, and the two work together in ways that matter every time you cook or serve food.
The danger zone is the temperature range between 40°F and 140°F. Bacteria like Salmonella, E. coli, and Listeria multiply rapidly in this range. The CDC emphasizes time-temperature control as one of the most reliable ways to prevent foodborne illness, and the 2-hour/1-hour rule is the practical shorthand for that principle.
The rule: Perishable food should not sit in the danger zone (40°F–140°F) for more than 2 hours total. When the ambient temperature is above 90°F, that window shrinks to 1 hour. After that, the food should be refrigerated, reheated to 165°F, or discarded.
This applies to food sitting on a counter after cooking, food at a picnic, and food on a buffet table. The clock starts the moment the food leaves the refrigerator or comes off the heat.
Safe holding temperatures for buffets and serving
Hot food held for serving needs to stay at 140°F or warmer. Cold food needs to stay at 40°F or colder. The FSIS food-safety basics are clear on this. For home entertaining, that means:
-
Use chafing dishes or slow cookers on the “warm” setting for hot foods.
-
Nest cold serving bowls in larger bowls filled with ice.
-
Serve in small batches and replenish from the refrigerator or oven rather than leaving a large tray out for hours.
-
Check temperatures with your thermometer every 30–45 minutes during a long event.
How should you handle leftovers and reheating safely?
Leftovers are where food safety habits tend to slip. The cooking is done, the meal was great, and it is easy to leave the pot on the stove while you clean up. That is exactly when bacteria start multiplying.
The reheating target is 165°F (74°C) for all leftovers and casseroles, no exceptions. This applies whether you are reheating on the stovetop, in the oven, or in the microwave. Microwave reheating requires extra attention because microwaves heat unevenly. Stir the food halfway through and check the temperature in multiple spots before eating.
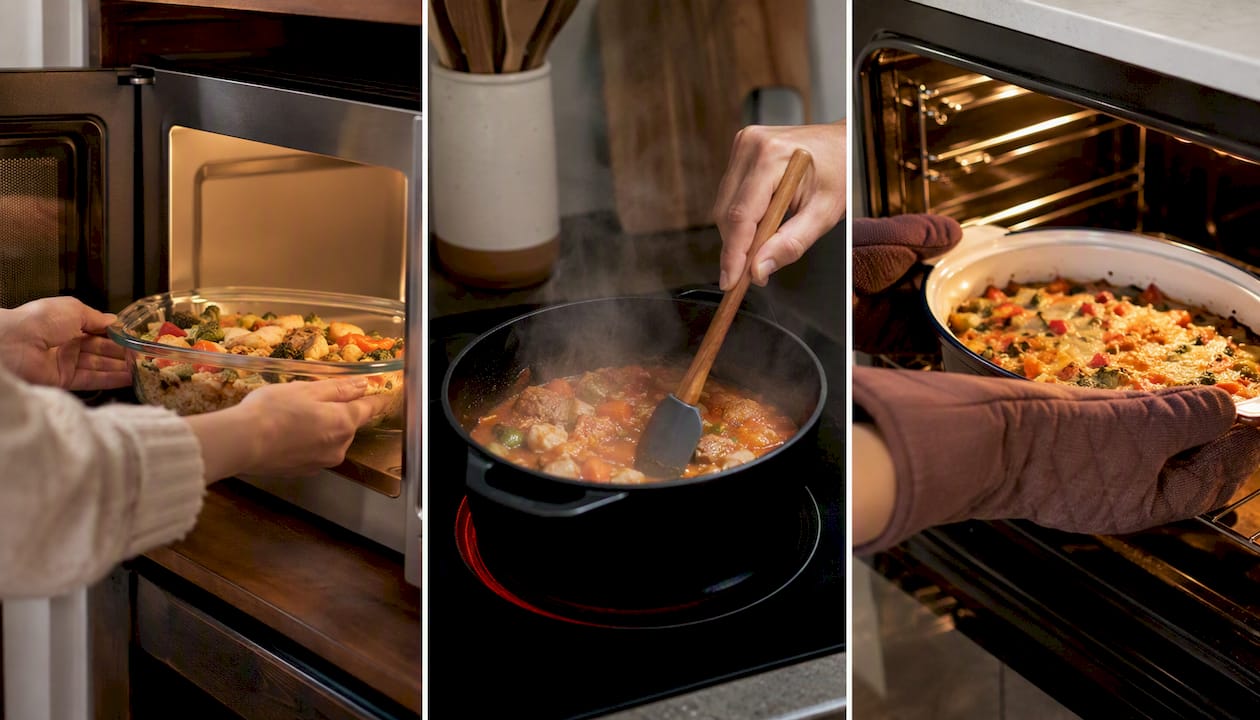
For leftover soups and rice dishes, the same 165°F rule applies. Bring soups to a full rolling boil when reheating on the stovetop, which reliably exceeds that target.
Safe cooling and storage timeline
-
Within 2 hours of cooking: Transfer hot food into shallow containers (no more than 2 inches deep) to speed cooling. Do not leave the pot on the stove.
-
Refrigerate promptly: Get food into the refrigerator at 40°F or below. Large batches can be split into smaller containers to cool faster.
-
Within 3–4 days: Use refrigerated leftovers. After that, the risk of bacterial growth increases even at safe refrigerator temperatures.
-
When reheating: Bring all leftovers to 165°F before eating. Check with a thermometer, not by steam or appearance.
Your refrigerator itself should stay at or below 40°F. If you are not sure, a simple refrigerator thermometer (under $10) confirms it.
Why do rest times matter for steaks, chops, and roasts?
The 3-minute rest required for steaks, chops, and roasts cooked to 145°F is not just about juiciness. It is a safety requirement. During those 3 minutes, the internal temperature continues to rise slightly (carryover cooking) and the heat distributes evenly through the meat, completing the pasteurization process that kills pathogens.
For a large roast, carryover cooking can add 5°F–10°F to the final temperature. That is why roasting guides recommend pulling the meat from the oven a few degrees below the target. For a beef roast targeting 145°F, pulling it at 140°F and resting it covered will often land you right at or above the minimum.
Rest time checklist
-
Remove the meat from the heat source when the probe reads the target temperature.
-
Tent loosely with foil to retain heat without trapping steam (which softens the crust).
-
Wait the full 3 minutes before cutting. Use a timer.
-
Check the temperature again after resting if you are unsure. It should hold or rise slightly.
-
For poultry, no rest time is required, but a 5-minute rest still improves texture.
Pro Tip: Carryover cooking is more pronounced in large, dense cuts. A 5-pound pork shoulder will carry over more than a thin pork chop. Pull large cuts earlier and let the rest do the work.
Which foods have different or stricter temperature rules?
Several food categories have rules that differ from the standard whole-cut guidelines, and applying the wrong rule is one of the most common home-cook mistakes.
Ground meats require 160°F, not 145°F. When meat is ground, surface bacteria get distributed throughout the interior. A burger that looks brown in the middle can still harbor live pathogens. Color is not a reliable indicator. Only a thermometer reading of 160°F confirms safety.
Stuffed poultry and stuffed cuts need 165°F through the stuffing. The stuffing absorbs raw juices during cooking and must reach 165°F at its center, not just the meat around it. The FSIS stuffing and food safety guidance recommends cooking stuffing separately when possible to make temperature verification easier.
Fish and shellfish: 145°F is the minimum. Fish should be opaque and flake easily, but again, use a thermometer rather than relying on visual cues alone.
Eggs and egg dishes: Whole eggs cooked until the yolk and white are firm are generally safe. Egg dishes (quiches, frittatas, stratas) need to reach 160°F at the center.
Ham reheating: Fully cooked hams from USDA-inspected plants need only 140°F. All other fully cooked hams need 165°F.
Higher-risk groups need stricter habits
For pregnant women, seniors, young children, and immunocompromised individuals, the stakes are higher. These groups are more vulnerable to severe illness from pathogens like Listeria and Salmonella. For them:
-
Avoid undercooked eggs entirely (runny yolks, soft scrambles).
-
Cook all poultry and ground meats to their full minimums without exception.
-
Reheat all leftovers and deli meats to 165°F, including hot dogs and lunch meats.
-
Follow the 1-hour rule in warm weather rather than the 2-hour rule.
The difference between a mild stomach ache and a serious hospitalization often comes down to these habits for high-risk individuals.
A beginner’s workflow for safe-temperature cooking every time
Building a thermometer habit takes a few repetitions, but once it clicks, it becomes automatic. Here is a simple workflow you can follow every time you cook protein.
-
Plan: Before you start cooking, know your target temperature for the protein you are making. Write it on a sticky note on the fridge if needed.
-
Prep safely: Keep raw meat separate from produce and cooked food. Use separate cutting boards, and wash your hands after handling raw protein. These are the FSIS four core steps: Clean, Separate, Cook, Chill.
-
Probe early: Start checking the internal temperature a few minutes before you expect the food to be done. This prevents overcooking and gives you time to adjust heat.
-
Check the right spot: Thickest part, away from bone and fat. For large items, check two spots.
-
Rest (when required): For steaks, chops, and roasts, rest 3 minutes before cutting.
-
Store promptly: Get leftovers into shallow containers and into the refrigerator within 2 hours.
A cooking planner can help you build this routine into your weekly meal prep so it becomes second nature rather than an afterthought.
Pro Tip: Practice thermometer technique on chicken thighs first. They are inexpensive, forgiving, and the 165°F target is easy to verify. Once you can hit it consistently, every other protein feels straightforward.
Why these numbers matter more than you think
Here is something most food-safety articles gloss over: the USDA minimums are not arbitrary. They are the temperatures at which pathogens die quickly enough to make food safe for the general population. But “quickly enough” is doing a lot of work in that sentence.
Bacterial death is a function of both temperature and time. ThermoWorks explains that chicken can be pasteurized at temperatures below 165°F if it is held at that lower temperature long enough. Serious Eats makes the same point: 165°F is a simple, foolproof rule because it produces near-immediate bacterial death. Lower-temperature methods, like sous vide at 150°F, can be equally safe, but only with precise timing and measurement that most home cooks are not set up to manage.
For beginners, the USDA minimums are the right target. They are conservative by design, they work with any cooking method, and they do not require a water bath or a stopwatch. As your skills grow and you start exploring techniques like reverse searing or sous vide, the time-temperature nuance becomes genuinely useful. But start with the numbers above, use a thermometer every time, and you will cook safely from day one.
AdultingintheKitchen makes safe cooking a skill you actually build
Knowing the right temperatures is step one. Cooking confidently with that knowledge every week is where real skill develops. AdultingintheKitchen is a digital cooking membership built for beginners who want structured, chef-guided practice, not just a list of rules to memorize.
Members get the Adulting in the Kitchen Starter Pack, five new recipes every week with built-in technique guidance, grocery checklists, and direct chef support. Thermometer use, probe placement, and safe food handling are woven into the lessons, so you practice these habits on real meals rather than reading about them in isolation. If you are ready to cook with confidence and stop second-guessing whether your chicken is done, start with the Founding Member Starter Package and build the skills that stick.
Sources
-
Safe Minimum Internal Temperature Chart | Food Safety and Inspection Service
-
Stop Overcooking Chicken: The Safer, Juicier Way to Get It Done | Serious Eats
This article is general information, not a substitute for advice from a qualified doctor. Consult a qualified healthcare professional about your own circumstances before acting on anything here.