Boiling is vigorous, rolling bubbles at 212°F (100°C) with lots of steam and churning. Simmering is gentler, just below that point, with small, steady bubbles breaking the surface. The quick rule: boil for pasta, blanching, and rapid cooking; simmer for soups, stocks, braises, and anything delicate.
Here is what to look for at a glance:
- Boiling: Large, vigorous bubbles across the entire surface, heavy steam, liquid churning and moving constantly. Temperature: boiling point at sea level.
- Simmering: Small bubbles rising gently and occasionally breaking the surface, light wisps of steam, liquid mostly calm. Temperature: roughly below boiling point but above poaching temperature.
- Rolling boil: Continuous, large bubbles that cannot be stirred down, used for pasta and blanching.
If your pot is churning and steaming hard, that is a boil. If it is quietly bubbling with the occasional gentle pop, that is a simmer. Most soups and braises spend the bulk of their cook time at a simmer, not a boil.
Key Takeaways
Simmering (180–205°F) and boiling (212°F) are not interchangeable: using the wrong method at the wrong time directly changes the texture, clarity, and flavor of your food.
| Point | Details |
|---|---|
| Temperature ranges | Simmer runs 180–205°F (82–96°C); boiling hits 212°F (100°C) at sea level. |
| Visual cues | Small, gentle bubbles mean simmer; large, vigorous churning means boil. |
| Best uses | Boil pasta and blanch vegetables; simmer soups, braises, stocks, and poached proteins. |
| Texture and clarity | Simmering keeps meat tender and stock clear; boiling clouds broth and can toughen proteins. |
| AdultingintheKitchen | Weekly recipe drops and chef support help beginners practice these techniques with real dishes. |
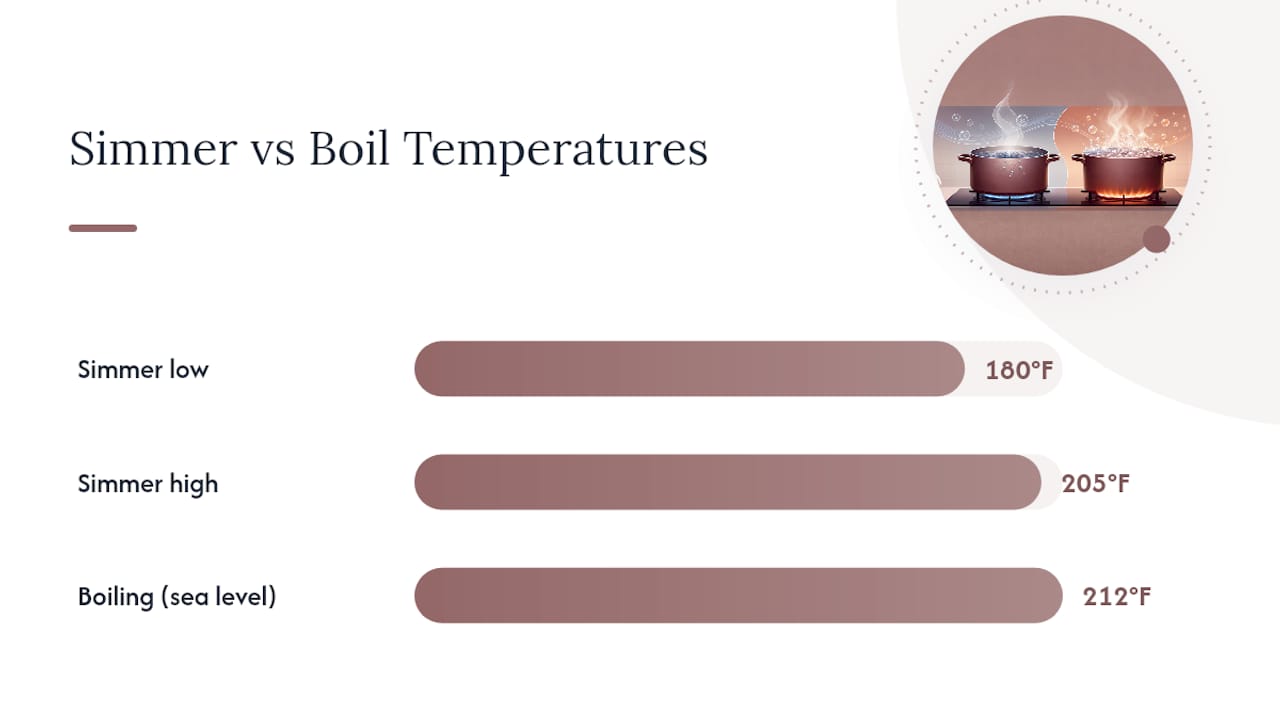
Table of Contents
- How do boiling and simmering compare?
- Which dishes need simmering and which need boiling?
- Why simmering usually makes better soups, stews, and braises
- The method that actually builds your cooking instinct
- Ready to put simmering and boiling into practice?
- Authoritative sources and further reading
How do boiling and simmering compare?
The difference between boiling and simmering comes down to temperature, agitation, and what those two things do to your food.
| Feature | Simmer | Boil |
|---|---|---|
| Temperature | 180–205°F (82–96°C) | 212°F (100°C) at sea level |
| Bubble activity | Small, gentle, occasional | Large, vigorous, continuous |
| Agitation level | Low to moderate | High |
| Effect on proteins | Tender, intact | Can toughen or shred |
| Stock clarity | Clear (less cloudy) | Cloudy (emulsified fat/proteins) |
| Evaporation rate | Slow to moderate | Fast |
| Best uses | Soups, braises, stews, poaching | Pasta, blanching, rapid cooking |
The most consequential differences for home cooks:
- A boil clouds your stock because the agitation emulsifies fat and proteins into the liquid.
- Simmering keeps meat tender because it does not mechanically tear muscle fibers.
- Boiling evaporates liquid much faster, which matters when you need to control sauce consistency.
- A simmer gives you more control and forgiveness; a boil demands more attention.
- Switching from boil to simmer is one of the most common recipe instructions you will ever follow.
Which dishes need simmering and which need boiling?
Choosing the right method depends on what you are cooking and what texture and flavor you want at the end.
Soups and broths
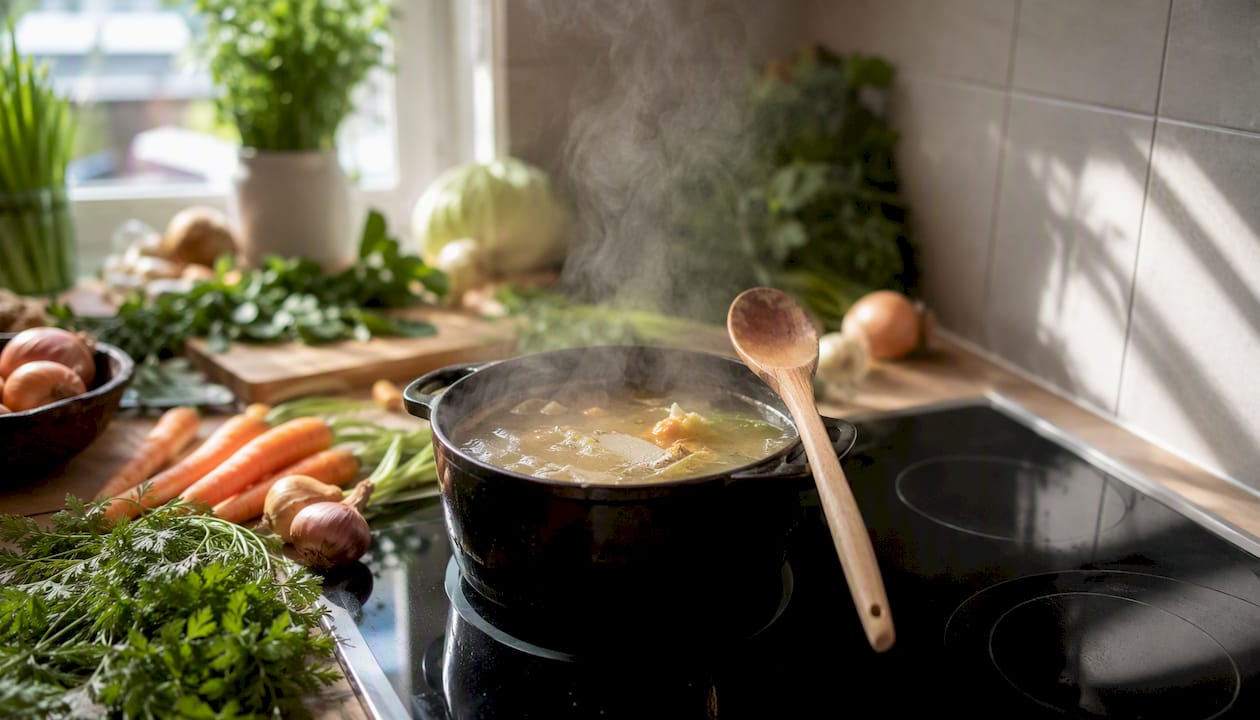
Start with a boil to bring everything up to temperature quickly, then drop to a steady simmer for the rest of the cook time. A long simmer (1–3 hours for a chicken stock, 4–6 hours for beef) extracts gelatin and flavor without clouding the liquid. Keeping the heat too high produces a murky, greasy broth.
Braises and stews
Always simmer. Braised beef, pork shoulder, and lamb shanks need low, steady heat over 2–4 hours so collagen converts to gelatin slowly. That conversion is what makes braised meat silky and fall-apart tender rather than dry and stringy.
Pasta
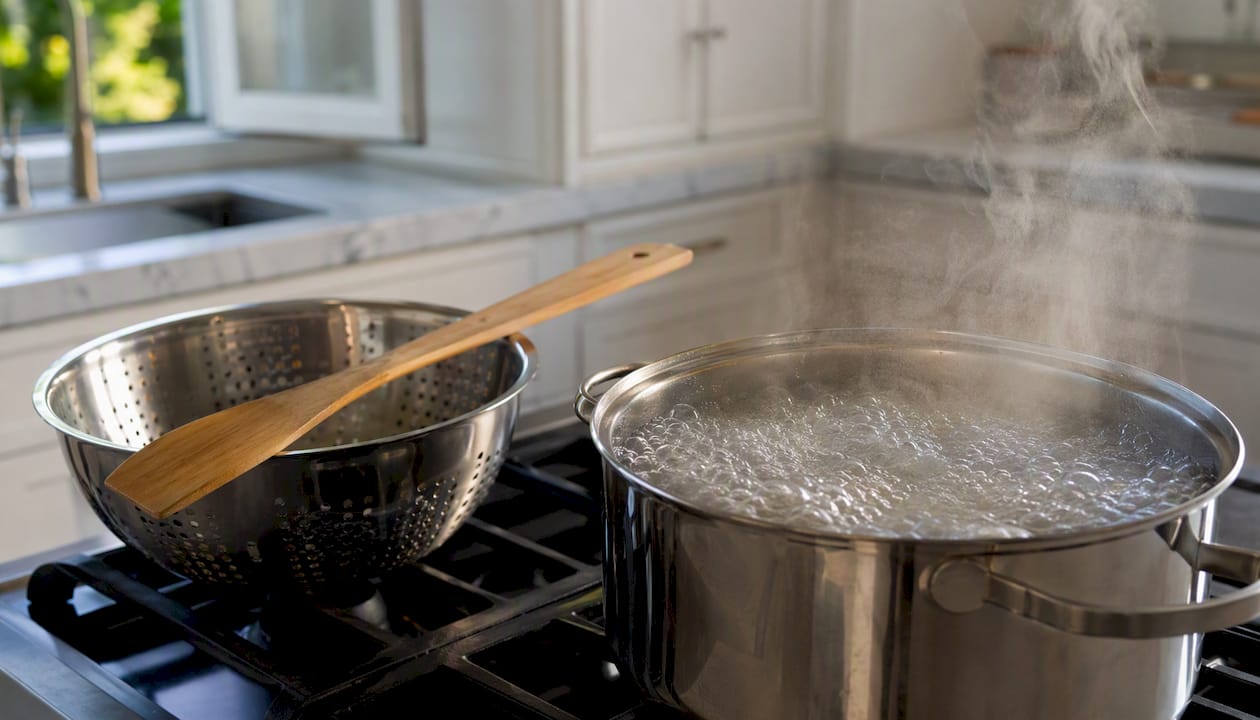
Use a rolling boil. Pasta needs vigorous agitation to cook evenly. A pot that drops back to a simmer after you add the pasta will produce gummy, unevenly cooked noodles. Most dried pasta takes 8–12 minutes at a full boil; fresh pasta cooks in 2–3 minutes.
Vegetables
It depends on the goal. Blanching uses a hard boil to set color and texture in 1–3 minutes, followed immediately by an ice bath. Simmering vegetables in a soup or stew softens them gradually and lets them absorb surrounding flavors. Overboiling vegetables turns them mushy and strips color.
Poaching and eggs
Poaching liquid (for eggs, fish, or chicken) should be at a slow simmer, around 180–185°F. A boil will tear delicate proteins apart before they cook through. Poached eggs typically take 3–4 minutes at a gentle simmer.
Sauces and reductions
A rapid simmer (200–205°F) is the sweet spot for reducing a sauce. It concentrates flavor and thickens the liquid without scorching. Understanding how simmering changes flavor concentration helps you decide when to cover the pot (to preserve liquid) and when to leave it uncovered (to reduce).
Why simmering usually makes better soups, stews, and braises
The science here is straightforward, and understanding it will change how you cook forever.
Meat contains collagen, a tough connective tissue protein. When you cook meat at a gentle simmer over time, collagen slowly converts to gelatin. That gelatin is what gives a good braise its silky, rich mouthfeel. The conversion happens most effectively between 160–180°F (71–82°C) and requires time, not high heat.
A rolling boil short-circuits this process. The small temperature difference between a simmer and a boil creates large mechanical differences in what happens to your food. Vigorous agitation physically tears muscle fibers apart before collagen has fully converted, leaving you with meat that is simultaneously overcooked and tough.
Simmering keeps stocks clear because the gentle heat does not emulsify fat and proteins into the liquid the way a hard boil does. Skimming the surface occasionally during a simmer removes impurities before they cloud the broth.
A practical example: braised beef short ribs cooked at a steady 185°F simmer for three hours will be tender, glossy, and pull apart with a fork. The same short ribs boiled hard for the same time will be stringy, dry, and the braising liquid will be gray and cloudy. Same ingredients, same time, completely different result.
Cooking method shapes flavor, too. How heat interacts with ingredients during long cooks affects which flavor compounds develop and which ones cook off. Simmering preserves volatile aromatics better than boiling because the lower temperature keeps them in the liquid longer.
Stove type matters more than most beginners realize
Gas burners respond instantly to heat adjustments, making them the most forgiving for simmering control. Test-kitchen guidance confirms gas ranges give better control for simmering than many electric ranges. Electric coil burners retain heat after you lower the dial, so you need to anticipate and adjust earlier. Glass-top electric stoves are similar to coil in heat retention. Induction cooktops offer the most precise control of all four types because they heat the pot directly and respond immediately to changes.
Developing practical cooking habits around heat management, like checking temperature at the 10-minute mark and adjusting once rather than constantly, builds the kind of instinct that makes every recipe easier.
The method that actually builds your cooking instinct
Most beginner cooking guides treat boiling and simmering as a footnote. They tell you the temperatures, show you a bubble chart, and move on. What they skip is the part that actually matters: you will not internalize this from reading. You will internalize it the first time you watch a braise go from a gentle simmer to a hard boil because you walked away, and you come back to cloudy, tough meat.
That experience is not a failure. It is how cooking instinct gets built. The problem is that most beginners do not have anyone to tell them what went wrong or how to fix it next time. They just assume the recipe did not work.
The real skill in heat control is not memorizing temperatures. It is learning to read your pot, trust what you see, and make one small adjustment at a time. A steady simmer on a Tuesday night soup is the same skill you use on a Sunday braise. Get comfortable with one, and the other follows naturally.
AdultingintheKitchen was built around exactly this kind of practical, skill-first learning. The membership includes a Starter Pack, weekly recipe drops with five new recipes, grocery checklists, and real chef support to help you work through moments like these with confidence.
Ready to put simmering and boiling into practice?
Knowing the difference between a simmer and a boil is one thing. Cooking a real dish that uses both, and getting it right, is where confidence actually comes from.
AdultingintheKitchen gives you the structure to build that confidence fast. Members get the Adulting in the Kitchen Starter Pack with kitchen setup guidance, weekly recipe drops featuring five new recipes every week, grocery store checklists so you always have the right ingredients, and real chef support when something goes sideways. Every recipe is designed to teach a skill, not just produce a meal.
If you are ready to stop second-guessing your stove and start cooking food you are proud of, the Founding Member Starter Package is the place to start.
Authoritative sources and further reading
- Simmering - Wikipedia
- Simmer | Definition in the Cambridge English Dictionary
- Simmering | Britannica
- Simmer | Merriam-Webster
- Boil vs. Simmer: What's the Difference? | Allrecipes
- How to Boil and Simmer, The Right Way | The Kitchn
- Boil vs Simmer: How to Tell the Difference | Taste of Home
- What Is a Rolling Boil? | Martha Stewart
- What's the difference between simmering and boiling, and does it matter? | Renardo Cuisine