Sautéing is a fast, high-heat cooking method that uses a small amount of fat to brown small, uniform pieces of food quickly in a hot pan. Get it right and you'll hear a confident sizzle the moment food hits the pan, see golden color develop within minutes, and smell that deep, savory aroma that no delivery app can replicate. Here's your quick-start checklist before you touch the stove:
- Preheat your pan over medium-high heat before adding fat
- Cut ingredients into uniform pieces so everything finishes at the same time
- Dry your food thoroughly with a paper towel before it goes in
- Add just enough oil to lightly coat the pan with a small amount of fat, enough for a large skillet
- Add food in a single layer and keep it moving with a spatula or toss
- Work in batches if you have more food than fits comfortably
The single most important rule: if you don't hear a loud sizzle the moment food hits the pan, the pan isn't hot enough. Pull the food out, let the pan recover, and try again. A quiet bubble means you're steaming, not sautéing.
One safety note: hot oil can splatter. Keep a splatter guard nearby and never lean directly over the pan when adding food.
Table of Contents
- What does sautéing actually mean, and when should you use it?
- What pan and tools do you actually need?
- How do you choose the right fat for sautéing?
- How should you prep ingredients before you sauté?
- How to sauté: the step-by-step method
- Why is your sauté steaming, sticking, or burning?
- Pro tips from the kitchen on moisture, salt, and flavor
- Key Takeaways
- The skill that changes everything in your kitchen
- Ready to cook like this every week?
- Useful sources
What does sautéing actually mean, and when should you use it?
The word "sauté" comes from the French sauter, meaning "to jump," which describes exactly what the food does in the pan. Technically, sautéing is a dry-heat method: you use a small amount of fat, high heat, and constant small motion to cook food quickly while developing color on the surface.
That surface color is the goal. It comes from the Maillard reaction, the same chemical process that makes a seared steak taste different from a boiled one. Sautéing is the fastest stovetop path to that flavor.
When sautéing fits best:
- Tender vegetables like zucchini, bell peppers, spinach, and green beans
- Aromatics like onions, garlic, and shallots
- Seafood like shrimp and scallops
- Diced or pounded chicken breast, pork tenderloin, or beef strips
- Mushrooms (with a specific salting rule covered below)
How it differs from similar methods:
Sautéing uses minimal fat, medium-high heat, and frequent movement. Pan-frying uses more oil and lets food sit static to build a thick crust, which is why a pan-fried chicken cutlet and a sautéed one taste different even when made from the same piece of meat. Stir-frying cranks the heat even higher, uses a wok, and involves near-constant tossing. The practical difference for you as a beginner: if you're cooking bite-sized pieces that need to be done in under 10 minutes, sautéing is almost always the right call.
What pan and tools do you actually need?
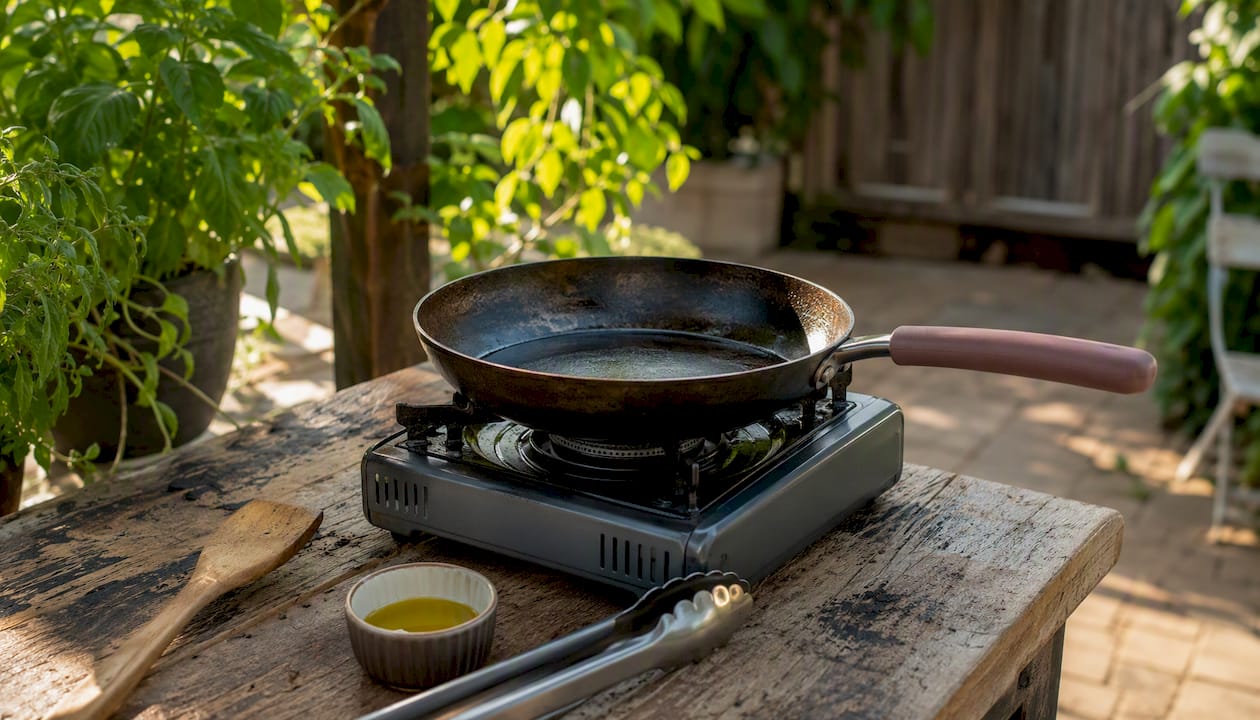
You don't need a full batterie de cuisine to sauté well. You need one good pan and a few basic tools.
Pan options:
A 10–12-inch skillet with sloped sides is the classic choice for sautéing. The sloped walls make it easy to toss food or slide a spatula under it. A straight-sided sauté pan works too, especially for larger batches, but the higher walls trap steam slightly more. For most beginners, the sloped skillet wins on versatility.
For cookware material, nonstick is the most forgiving starting point. It reduces sticking, requires less fat, and lets you focus on heat control rather than rescuing stuck food. Stainless steel and carbon steel produce better fond (those browned bits stuck to the pan that become the base of a pan sauce), but they punish poor heat management more visibly. Cast iron holds heat beautifully but takes longer to preheat and is heavy to toss with.
Must-have tools:
- A wide, flat spatula (fish spatula or flexible turner) for lifting and flipping
- Tongs for proteins and larger pieces
- A heatproof oven mitt
- A splatter guard for high-heat cooking
- A sharp chef's knife for uniform cuts
Pro Tip: Start with a quality nonstick skillet to build confidence and nail your heat control. Once you can reliably get that loud sizzle and golden color, switch to stainless steel to learn how fond works and how to build a quick pan sauce.
How do you choose the right fat for sautéing?
Fat does two jobs in a sauté: it transfers heat evenly to the food's surface, and it adds flavor. The challenge is that not all fats handle high heat the same way.
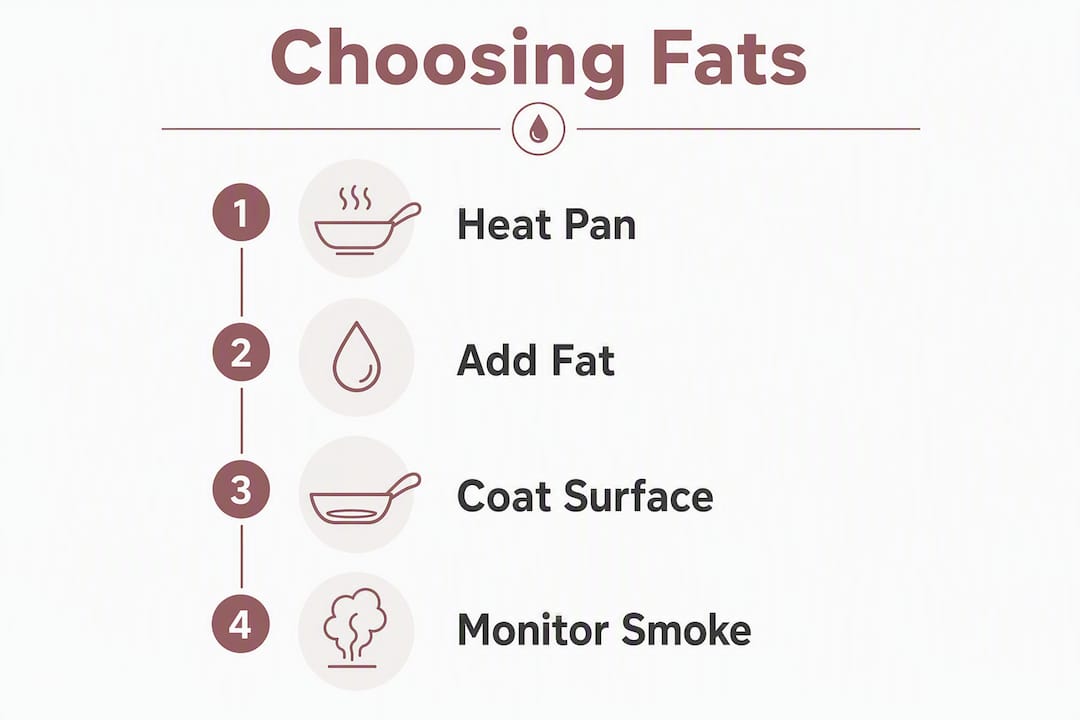
Use a high-smoke-point fat for the actual cooking stage, then finish with a lower-smoke-point fat for flavor. Refined avocado oil, refined vegetable oil, ghee, and light olive oil all handle medium-high heat without breaking down. Extra-virgin olive oil and butter have lower smoke points and will burn if used alone over high heat, producing a bitter, acrid flavor.
A simple decision framework:
- Neutral flavor, high heat: refined vegetable oil or avocado oil
- Savory richness: ghee or a neutral oil with a small knob of butter added in the last 60 seconds
- Mediterranean flavor: light olive oil for the cook, a drizzle of extra-virgin at the end
- Finishing only: butter, fresh herbs, or a squeeze of lemon off the heat
For a standard large skillet, use a small amount of fat, enough to coat the surface thinly. You want a thin, even coat across the pan's surface, not a pool. If fat is pooling in the center, the pan isn't level or you've added too much.
When fat starts to smoke heavily, that's a warning sign. Remove the pan from heat, let it cool slightly, wipe it out if the fat has burned, and start with fresh fat. Burnt fat carries bitter compounds that transfer directly to your food.
How should you prep ingredients before you sauté?
Prep is where most beginner mistakes happen, and they happen before the pan even gets hot.
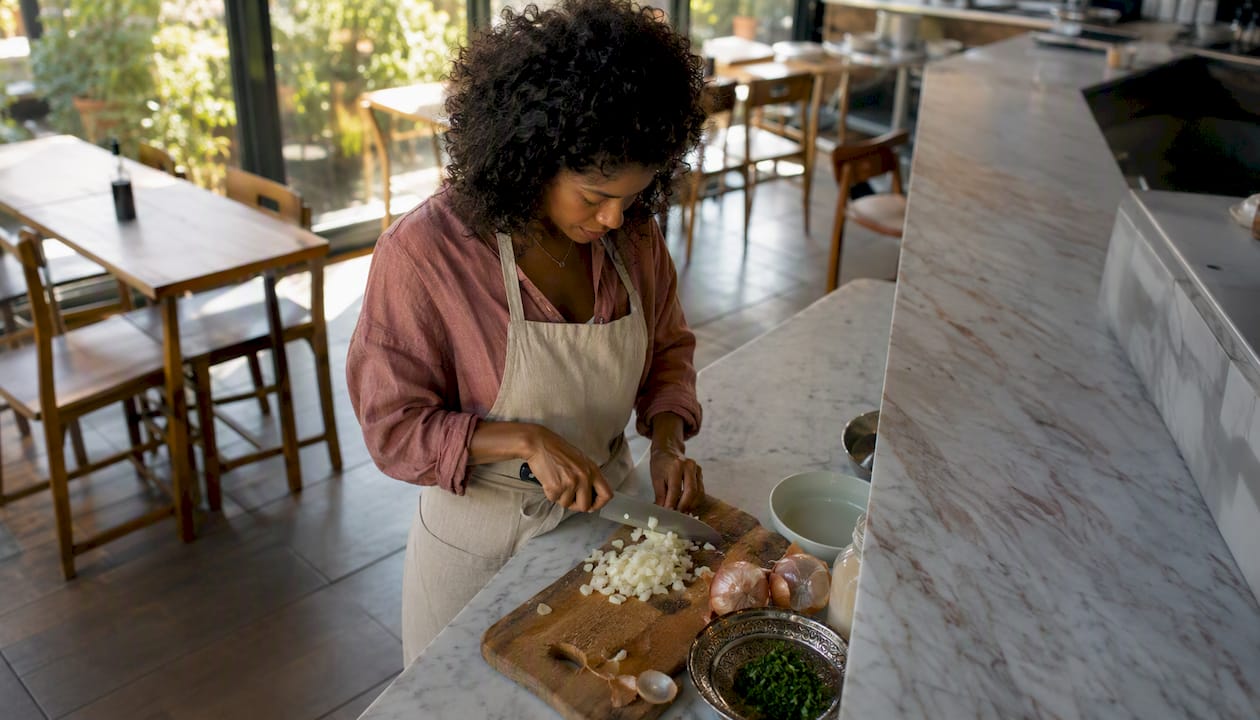
Cut for even cooking. Uniform pieces are non-negotiable. If half your chicken is diced small and the other half is chunky, the small pieces will overcook while the large ones finish. For most vegetables, aim for pieces roughly ½ inch thick or smaller. For proteins, ½–¾ inch cubes work well for a quick sauté.
Dry everything. Moisture is the enemy of browning. When wet food hits a hot pan, the water steams off first, dropping the pan temperature and preventing the Maillard reaction. Pat proteins dry with paper towels. For vegetables, spin them dry after washing or let them air-dry on a clean towel. If you've brined meat, pat it dry before it goes in the pan.
Salt with intention. Salt timing affects both flavor and texture. For proteins, salting 30 minutes to a couple of hours ahead (a simple dry brine) draws moisture to the surface, which then gets reabsorbed, seasoning the meat deeper. For high-moisture vegetables like mushrooms, salt at the end. Salting mushrooms early draws out water, which pools in the pan and causes steaming instead of browning.
Set up your mise en place. This French term just means "everything in its place." Chop everything before the pan goes on the heat, because once you start sautéing, things move fast. Organize ingredients in the order they go into the pan: aromatics like garlic and onion first, proteins next, quick-cooking vegetables last. A solid mise en place routine is the single biggest confidence booster for a beginner cook.
How to sauté: the step-by-step method
Follow this sequence every time and you'll get consistent results.
- Preheat the pan. Place your skillet over medium-high heat for 1–2 minutes before adding fat. An empty pan heats more evenly than one with cold oil in it.
- Add fat. Pour in 1–2 tablespoons of your chosen high-smoke-point oil. Swirl to coat the surface.
- Test the heat. Flick a single drop of water into the pan. If it dances and evaporates immediately, the pan is ready. If it just sits there, wait another 30 seconds.
- Add food in a single layer. Lay pieces in without crowding. You should hear a loud, confident sizzle immediately. Quiet bubbling means the pan cooled down too fast, usually from overcrowding.
- Keep things moving. Use a spatula or tongs to stir and flip every 30–60 seconds. For lighter vegetables, you can practice a pan-toss by flicking the handle forward and up. For proteins, let them sit for 1–2 minutes to develop color before flipping.
- Finish and plate. Pull food when it's just cooked through. Carry-over heat will finish the last few degrees. Add finishing fat, fresh herbs, or a squeeze of acid off the heat.
Typical timing ranges for common ingredients
| Ingredient | Typical Range | Visual Cue |
|---|---|---|
| Garlic (minced) | 30–60 seconds | Light golden, fragrant |
| Onion (thin sliced) | 3–5 minutes | Translucent, soft edges |
| Mushrooms (sliced) | 4–8 minutes | Deep golden brown, reduced in size |
| Diced chicken breast | 4–8 minutes | Opaque throughout, light golden crust |
| Bell pepper (sliced) | 3–6 minutes | Softened, slight char on edges |
Ranges vary with pan size, heat level, and ingredient thickness. Use visual and auditory cues alongside timing.
Pro Tip: Once your food is done, don't rinse the pan. Those browned bits stuck to the bottom are fond, and they're pure flavor. Add a splash of broth, wine, or even water, scrape with a wooden spoon, and you've got a quick pan sauce in under two minutes. For more ideas on finishing a pan, check out this guide on how to use sauces.
Why is your sauté steaming, sticking, or burning?
Every beginner hits these three problems. Here's how to read the signs and fix them fast.
Steaming instead of browning The cause is almost always overcrowding or wet food. When too many pieces crowd the pan, they release steam that can't escape, and the temperature drops. The fix: work in batches, even if it takes an extra five minutes. A single layer with space between pieces is the rule, not a suggestion.
Food sticking to the pan On stainless steel, sticking often means the crust hasn't fully formed yet. Give it another 30–60 seconds before trying to flip. If it still won't release, reduce the heat slightly. On nonstick, sticking usually means the pan wasn't hot enough or the food was too wet. On cast iron, it usually means the pan wasn't properly seasoned.
Oil smoking or burning If your fat is smoking heavily before the food even goes in, the pan is too hot or you chose a low-smoke-point fat. Remove the pan from heat, let it cool, wipe it out, and start with fresh fat at a lower temperature. A light shimmer on the oil's surface is the visual cue you want, not smoke.
Quick troubleshooting flow:
- Quiet bubbling → pan too cool or overcrowded; remove some food or increase heat
- Food won't release → crust forming; wait 30 seconds before flipping
- Heavy smoke → fat burning; reduce heat, replace fat if needed
- Mushy texture → too much moisture; dry ingredients better next time and work in smaller batches
Pro tips from the kitchen on moisture, salt, and flavor
Professional chefs frame sautéing as moisture management above everything else. Dry food, a hot pan, and a single layer are the three pillars. The sizzle you hear when food hits the pan is your real-time feedback.
Moisture management in practice:
- Pat proteins dry immediately before they go in, not 10 minutes ahead
- If you're sautéing leafy greens like spinach, add them in two or three additions so the pan temperature recovers between batches
- For blanched vegetables, squeeze out excess water before sautéing
Salt timing as a tool: Salt is both a seasoning and a texture modifier. Use it early on proteins to season deeply. Delay it on high-moisture vegetables. For mushrooms specifically, wait until you see significant browning before adding salt, because early salting draws out water that pools in the pan and stops browning cold.
Flavor finishes that elevate a simple sauté:
- A small knob of butter swirled in off the heat adds richness and gloss
- A squeeze of lemon or a splash of vinegar brightens the whole dish
- Fresh herbs added at the very end (not during cooking) keep their color and fragrance
Practice drill: Sauté one sliced onion and two cloves of minced garlic in a tablespoon of oil over medium-high heat. Your goal: golden onions in 4–5 minutes, fragrant garlic in the last 30–60 seconds without burning it. This single exercise teaches heat control, timing, and the difference between "translucent" and "golden brown" better than any recipe can.
Pro Tip: Once you're comfortable with the basic method, try switching between a nonstick and a stainless skillet on the same recipe. The contrast teaches you exactly what fond looks like and how heat behaves differently across materials.
Key Takeaways
Sautéing comes down to three non-negotiables: a hot pan, dry food in a single layer, and the right fat for the heat level.
| Point | Details |
|---|---|
| Hot pan before fat | Preheat your skillet before adding oil to prevent sticking and ensure browning. |
| Dry food, single layer | Pat ingredients dry and never overcrowd; steaming and browning cannot happen at the same time. |
| Match fat to heat | Use high-smoke-point oils for cooking; finish with butter or extra-virgin olive oil for flavor. |
| Salt timing matters | Salt proteins early for depth; delay salting mushrooms and high-moisture vegetables until color develops. |
| AdultingintheKitchen membership | Weekly recipe drops, a Starter Pack, and real chef support give beginners structured sautéing practice every week. |
The skill that changes everything in your kitchen
Here's what most beginner guides won't tell you: sautéing isn't really about the technique. It's about building the instinct to read heat. Once you can hear the difference between a confident sizzle and a quiet bubble, and once you know what golden-brown looks like versus pale and steamed, every other stovetop method gets easier. Braising, stir-frying, making a pan sauce — they all rely on the same sensory awareness you build by sautéing onions and garlic a dozen times.
The temptation is to rush through the learning curve. Don't. Pick one simple goal each week: nail the onion-garlic drill, then move to mushrooms, then try a quick chicken sauté. Small, deliberate wins stack up faster than you'd expect.
If you want to keep building from here, the guides on mise en place and easy recipes for beginners are good next steps. They'll give you the prep habits and the recipe context to put your new sautéing skills to work right away.
Ready to cook like this every week?
Knowing how to sauté is a real skill. Knowing what to cook with it, every single week, with a grocery list already built and a chef ready to answer your questions — that's where AdultingintheKitchen comes in.
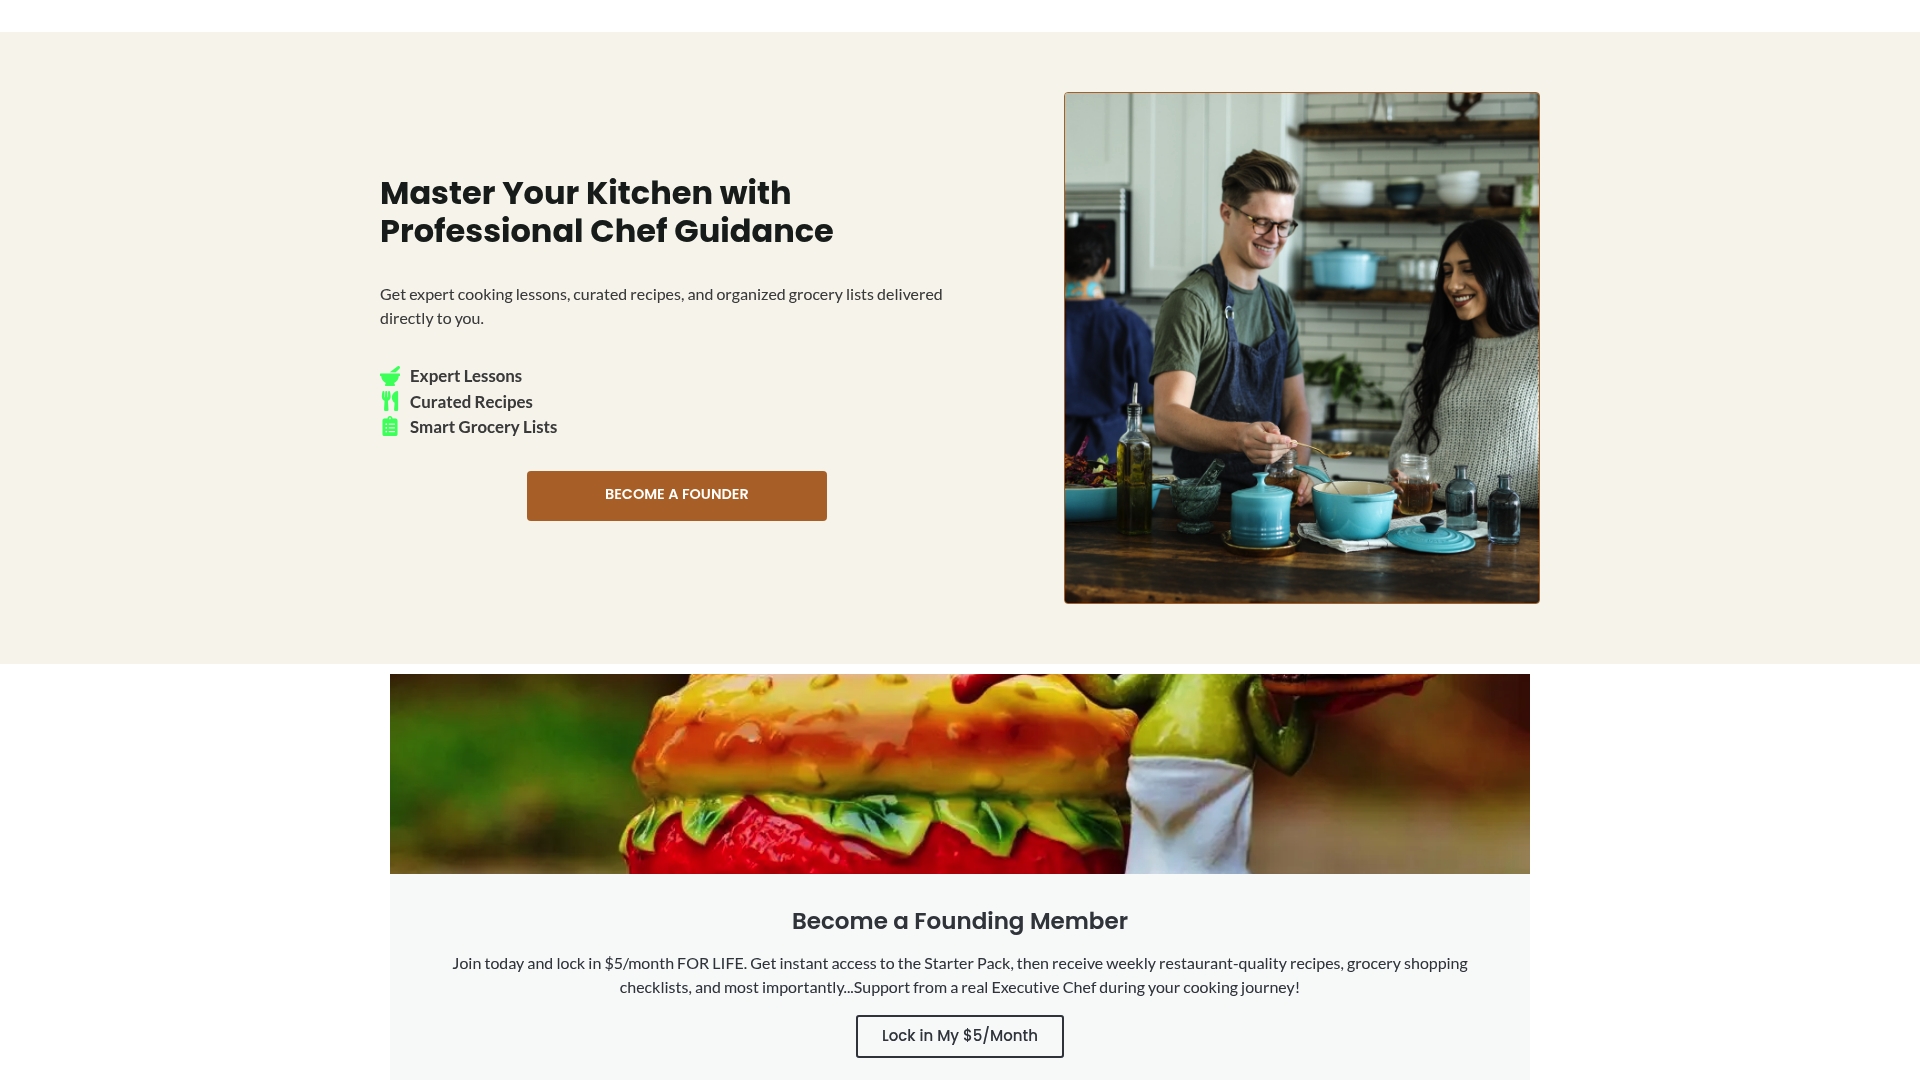
The AdultingintheKitchen membership is built specifically for beginners who are done guessing at the stove and ready to cook meals they're genuinely proud of. When you join, you get the Adulting in the Kitchen Starter Pack to set up your kitchen the right way, 5 new recipes every week that build on skills like sautéing, and grocery store checklists so you're never standing in an aisle wondering what to buy.
- Guided skill-building: recipes are sequenced to practice techniques like sautéing, not just produce a meal
- Real chef support: get answers to your actual cooking questions, not generic tips
- Weekly structure: consistent practice is what turns a technique into a habit
Get started with the Starter Pack and put your sautéing skills to work on a real recipe tonight.
Useful sources
- How to Sauté Like a Chef — Food & Wine: Practical technique breakdown including fat amounts, timing ranges, and auditory cues for pan readiness.
- Sautéing — Wikipedia: Historical and technical overview of the method, including its French culinary origins.
- When to Salt Your Food — Popular Science: Research-backed explanation of how salt timing affects moisture release and browning outcomes.
- Serious Eats — Salting and Seasoning Guidance: Deep-dive into how salt interacts with proteins and vegetables at different stages of cooking.