The minimal kitchen setup for beginners is one chef's knife, a stainless skillet, a small saucepan, a sheet pan, a measuring set, tongs or a spatula, and a handful of pantry staples like olive oil, salt, and canned tomatoes. Keep those items within arm's reach of your stove. That's the whole friction-reduction principle in one sentence. Grab the checklist below and you can be cooking real meals tonight.
TL;DR:
- Prioritize a durable chef's knife and a versatile skillet, as these will be used daily and last for many years with proper care.
- Store your most-used tools and ingredients within arm's reach of the stove to reduce friction and streamline cooking flow.
- Use vertical storage solutions like wall-mounted rails and cabinet risers to maximize limited space in small kitchens effectively.
- Focus on organizing kitchen zones by function—consumables, prep, cooking, cleaning—and place items accordingly for easier workflow.
- Invest in multi-use appliances like a toaster oven and immersion blender, and avoid trendy, single-use gadgets that often go unused or clutter space.
Table of Contents
- Kitchen Setup for Beginners: The Minimal Essentials Checklist
- How Do You Map a Small Kitchen for Less Friction?
- Small-Space Storage Hacks That Actually Work
- Where Should Your Everyday Tools Actually Live?
- Which Small Appliances Are Worth Buying First?
- What to Skip When You're Starting Out
- Why Trust This Guide
- A Note From Bill
- Ready to Cook With Confidence? Here's Your Next Step
- Sources
Kitchen Setup for Beginners: The Minimal Essentials Checklist
You don't need forty tools to cook well. You need the right seven or eight, chosen for durability and versatility, not because a set looked good in a photo. Here's the exact starting lineup and why each piece earns its spot.
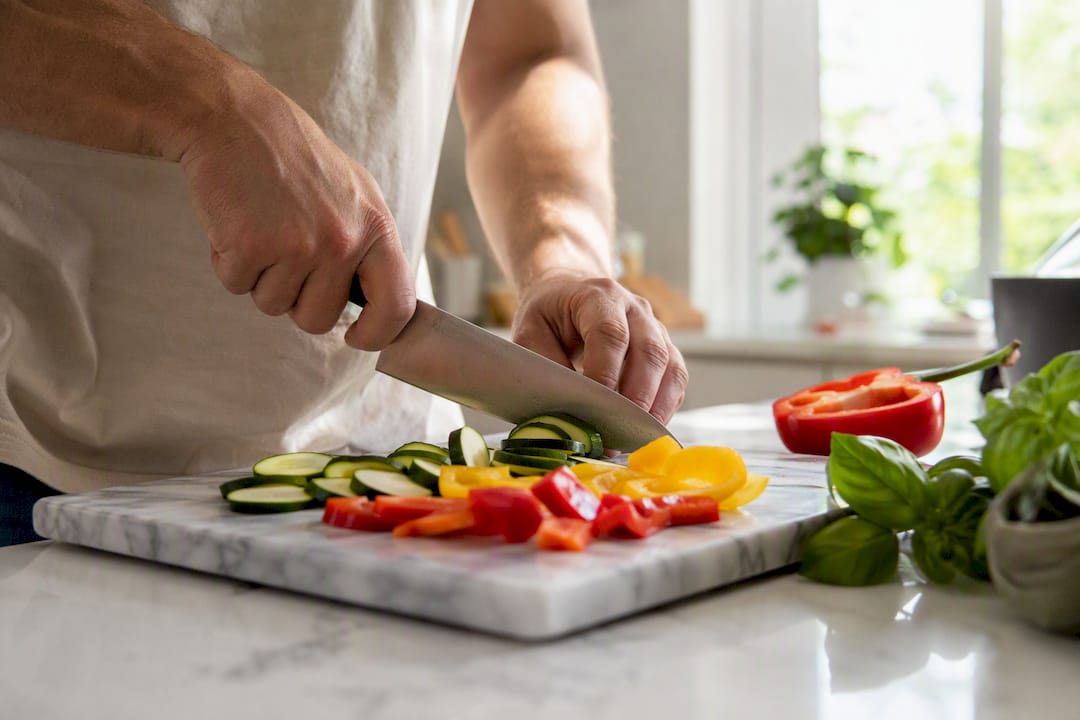
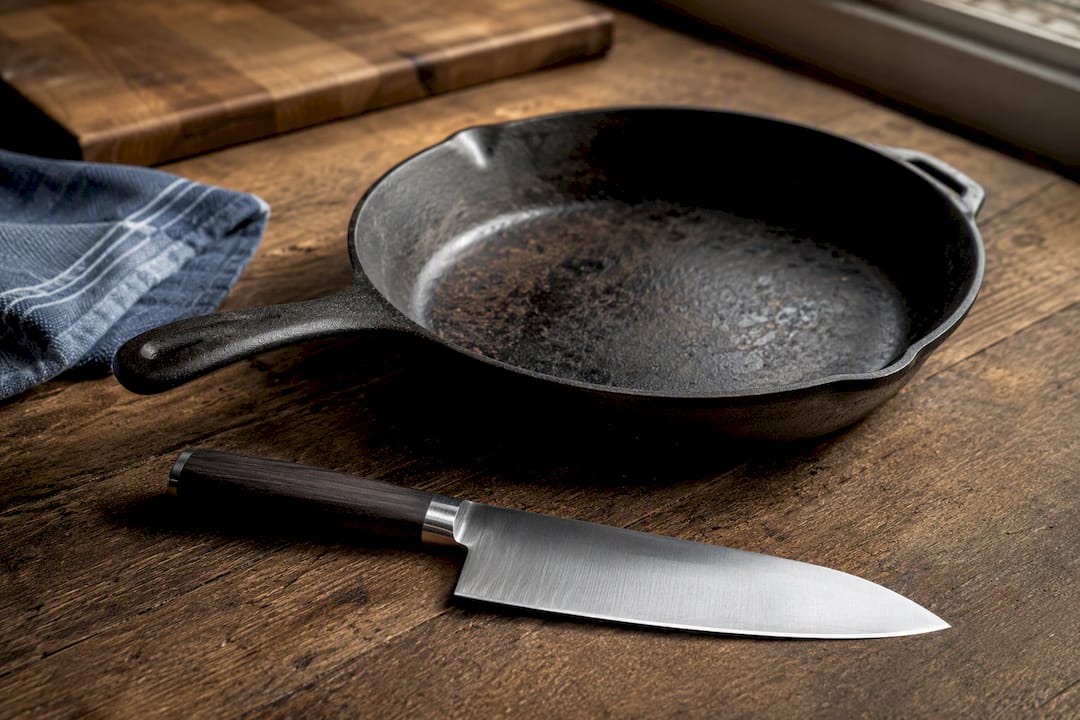
Start with one knife, not a block. An 8-inch chef's knife handles most of what you'll cut: onions, chicken, herbs, bread. A moderately priced knife from a reputable brand, kept sharp with a honing rod, will outperform a full set with many knives you'll never touch. Skip the block entirely. Its clutter dressed up as a purchase.
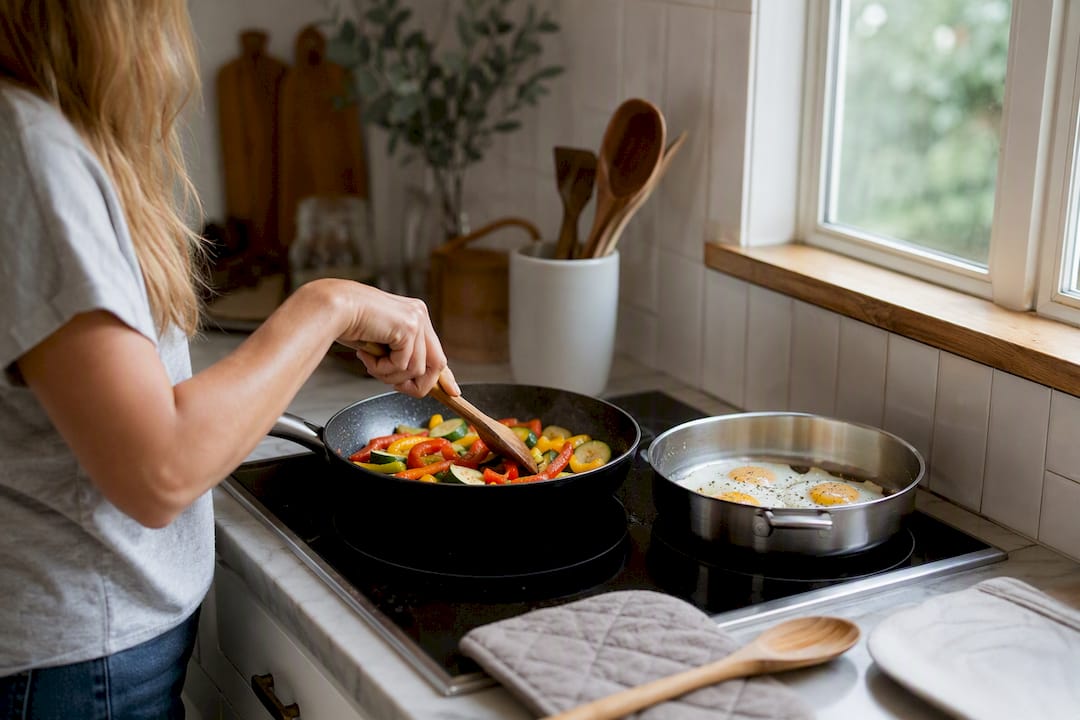
Two pans cover almost everything. Starter kitchen guides consistently land on the same combo: one versatile stainless or cast iron skillet, plus a small nonstick pan if eggs and delicate fish are part of your routine, according to The Strategist's breakdown of starter kitchen essentials. A 10 or 12 inch skillet sears, sautés, and fries. Add a 2 or 3 quart saucepan for rice, sauces, and soup, and you've covered stovetop cooking without a single wasted pan.
Sheet pans do more than bake cookies. A quarter sheet pan roasts vegetables, reheats leftovers, and catches drips under a rack. Smaller pans are genuinely easier to handle, wash, and store in a cramped kitchen than a full half-sheet, which is why The Strategist recommends starting there instead of sizing up.
Utensils: fewer than you think, used constantly.
- A set of dry and liquid measuring cups, plus measuring spoons, for anything that involves baking or precision.
- Tongs, for flipping meat, tossing pasta, and plating without burning your fingers.
- A silicone spatula that survives nonstick pans and high heat.
- A large mixing bowl or two, ideally nesting, for marinating, tossing, and prepping.
- A sturdy cutting board, wood or plastic, big enough that vegetables don't roll off the edge.
- A colander for draining pasta and rinsing produce.
Your starter pantry should support several cuisines at once, not one recipe. Stock olive oil, a neutral oil like canola or vegetable, kosher salt, black pepper, vinegar, canned tomatoes, dried pasta or rice, and canned beans. That short list alone lets you build pasta dishes, stir-fries, grain bowls, and simple braises, according to a beginner kitchen essentials rundown from Consillar.
Where to spend and where to save. Put your money into the knife and the skillet. Both get used daily, both last a decade or more if you take care of them, and cheap versions of either will frustrate you within a month. Save on mixing bowls, measuring cups, and the cutting board. Basic versions do the job just as well as premium ones. For a deeper walkthrough of what each tool actually does, our guide to basic cooking tools every beginner needs breaks it down piece by piece.
How Do You Map a Small Kitchen for Less Friction?
Cooking gets easier when your kitchen is organized around motion, not aesthetics. Professional kitchens and home-design experts both point to the same five-zone system: consumables, non-consumables, cleaning, preparation, and cooking. Group your items by what they do, and store each group where you actually use it, according to The Kitchn's breakdown of kitchen zones.
Placement rules make or break how a kitchen actually flows:
- Store pots, pans, oils, and spices within a step of the stove, since these are your "cooking zone" items.
- Keep cutting boards, knives, and mixing bowls near open counter space, since that's your prep zone.
- Position dish soap, sponges, and trash near the sink for your cleaning zone.
- Store pantry staples and snacks (consumables) near the fridge or pantry, away from heat.
- Put rarely used appliances and serveware (non-consumables) in harder-to-reach cabinets, since you'll grab them less often.
Small kitchens benefit from specific hacks: an over-the-sink cutting board effectively doubles your counter space, a burner cover turns your stovetop into extra prep area when it's off, and a small rolling cart works as a mini island if you have floor space to spare.
Pro Tip: Stand at your stove and do a "reach test." If you have to take more than two steps to grab something you use every time you cook, it's in the wrong zone. Move it closer.
Placing daily tools within arm's reach of the stove is the single biggest lever for reducing cooking friction, based on Maytag's guidance on kitchen work triangles. It sounds almost too simple to matter, but it's the difference between cooking on a Tuesday night and ordering takeout because the pan you need is buried in a cabinet across the room.
Small-Space Storage Hacks That Actually Work
Renters and small-kitchen dwellers face the same problem: not enough cabinets, plenty of wasted wall space. The fix is vertical thinking before you buy a single organizer.
Wall-mounted rails, magnetic knife strips, and pegboards free up drawer space fast, but check your lease first. Magnetic strips need to be screwed into studs to hold knife weight safely, and that's not always rental-friendly, according to Wirecutter's testing of small-kitchen organizers. Command hooks work for lightweight items like measuring cups and pot holders if drilling isn't an option.
Inside cabinets and drawers, a few purchases go a long way:
- Drawer dividers to keep utensils from becoming a tangled pile.
- Shelf risers to double your cabinet's usable space by stacking plates or bowls in tiers.
- A Lazy Susan for corner cabinets, where items otherwise disappear into the void.
- Under-sink bins to separate cleaning supplies from trash bags and extra sponges.
Occasional-use items, holiday bakeware, the ice cream maker you use twice a summer, belong in your highest cabinet or even outside the kitchen entirely. A nearby buffet, bookshelf, or console table can hold overflow pantry goods or serveware, a trick highlighted in KathEats' small-kitchen storage guide.
Before you buy any organizer, empty every cabinet and drawer first. Practitioners who specialize in home organization consistently recommend this step because it reveals what you actually use versus what's just taking up space, per Merry Maids' small-kitchen organizing tips. Decluttering before organizing saves you money on bins you didn't need.
Where Should Your Everyday Tools Actually Live?
Not every tool deserves prime real estate. The goal is simple: your six to eight most-used items live within arm's reach, everything else gets stowed a step or two farther away.
- Keep your chef's knife, main skillet, spatula, and tongs in the drawer or on the counter closest to the stove.
- Store salt, pepper, and your two or three most-used spices right next to the stove, not in a pantry three steps away.
- Place measuring cups and spoons near your prep counter, where recipes actually happen.
- Stow bakeware, the blender, and specialty pans in lower cabinets or a pantry, since these get used weekly, not daily.
Knife storage deserves its own decision. A magnetic strip saves drawer space but needs secure wall mounting, while an in-drawer knife tray is safer for rental kitchens and keeps blades away from curious roommates or kids, according to Wirecutter's organizer testing. Either way, never toss loose knives into a drawer with other utensils. It's a shortcut to a cut finger.
Run this quick sort: if you touch it almost every time you cook, it's "arm's reach." If you touch it weekly or less, it's "stow away."
Which Small Appliances Are Worth Buying First?
Counter space in a first apartment is precious, so every appliance needs to earn its footprint. Multi-use tools win here, and single-purpose gadgets are usually a mistake early on, according to Bon Appétit's first-apartment starter kit guide.
Buy these first:
- A compact toaster oven, which bakes, broils, and reheats without heating up your whole kitchen.
- An immersion blender, which handles soups and smoothies without the bulk of a full countertop blender.
- A small rice cooker, if rice or grains are a weekly staple for you.
- A mini food processor, for chopping garlic, herbs, and small batches of sauce.
Wait on these:
- A full-size stand mixer, unless you bake bread or cookies regularly.
- A full-size food processor, which eats counter space most beginners don't have yet.
Store appliances you use less than twice a week in a lower cabinet, and reserve counter space for the one or two you reach for daily. If your budget is tight, prioritize the toaster oven and immersion blender first. Both replace multiple single-use gadgets at once.
What to Skip When You're Starting Out
The fastest way to blow a kitchen budget is buying for the kitchen you imagine instead of the one you'll actually use this month. A few purchases consistently turn out to be regrets:
- Single-use gadgets like avocado slicers, egg separators, or garlic presses that a knife already handles.
- Decorative cookware sets bought for looks rather than function.
- A full knife block when you'll use three knives out of twelve.
- Trendy small appliances (waffle makers, panini presses) before you know if you'll use them weekly.
Invest instead in your chef's knife and main skillet, the two items that get daily use and last years when cared for properly. Save on bowls, boards, and basic utensils, where cheaper versions perform nearly identically.
Let your actual habits drive upgrades. If you're baking every weekend, that's your trigger for a stand mixer. If you're making stir-fry three times a week, that's your trigger for a wok. Thrift stores and secondhand marketplaces are genuinely good sources for cast iron skillets and Dutch ovens, since quality cookware often outlives its first owner.
Why Trust This Guide
Adulting in the Kitchen exists because too many people finish college or move into their first apartment without ever being taught how to stock a kitchen or cook a real meal. This guide reflects the same beginner-first philosophy behind our Starter Pack: start minimal, reduce friction, build skill one meal at a time.
If you want the product-level detail behind any item mentioned here, our guide to all the kitchen equipment beginners need goes deeper on brands and price points. And once your setup is ready, pairing it with a prep routine like mise en place will make every recipe feel more manageable from the first attempt.
A Note From Bill
I still remember standing in my first apartment kitchen with a single pan and no idea what to cook in it. The turning point wasn't buying more stuff. It was learning to prep everything, chopped, measured, ready, before turning on the stove. Cooks call it mise en place, and it sounds fancier than it is.
Try this one habit tonight: before you touch the stove, lay out every ingredient and tool you'll need. It cuts the panic out of cooking almost immediately.
— Bill
Ready to Cook With Confidence? Here's Your Next Step
A checklist gets you the right tools. It doesn't teach you what to do with them once they're on your counter, and that's the gap most beginners hit around week two. AdultingintheKitchen closes that gap with the Starter Pack, weekly recipe drops with 5 new recipes built around the exact tools in this guide, grocery store checklists so you're not wandering the aisles guessing, and real chef support when a recipe isn't turning out the way you expected.
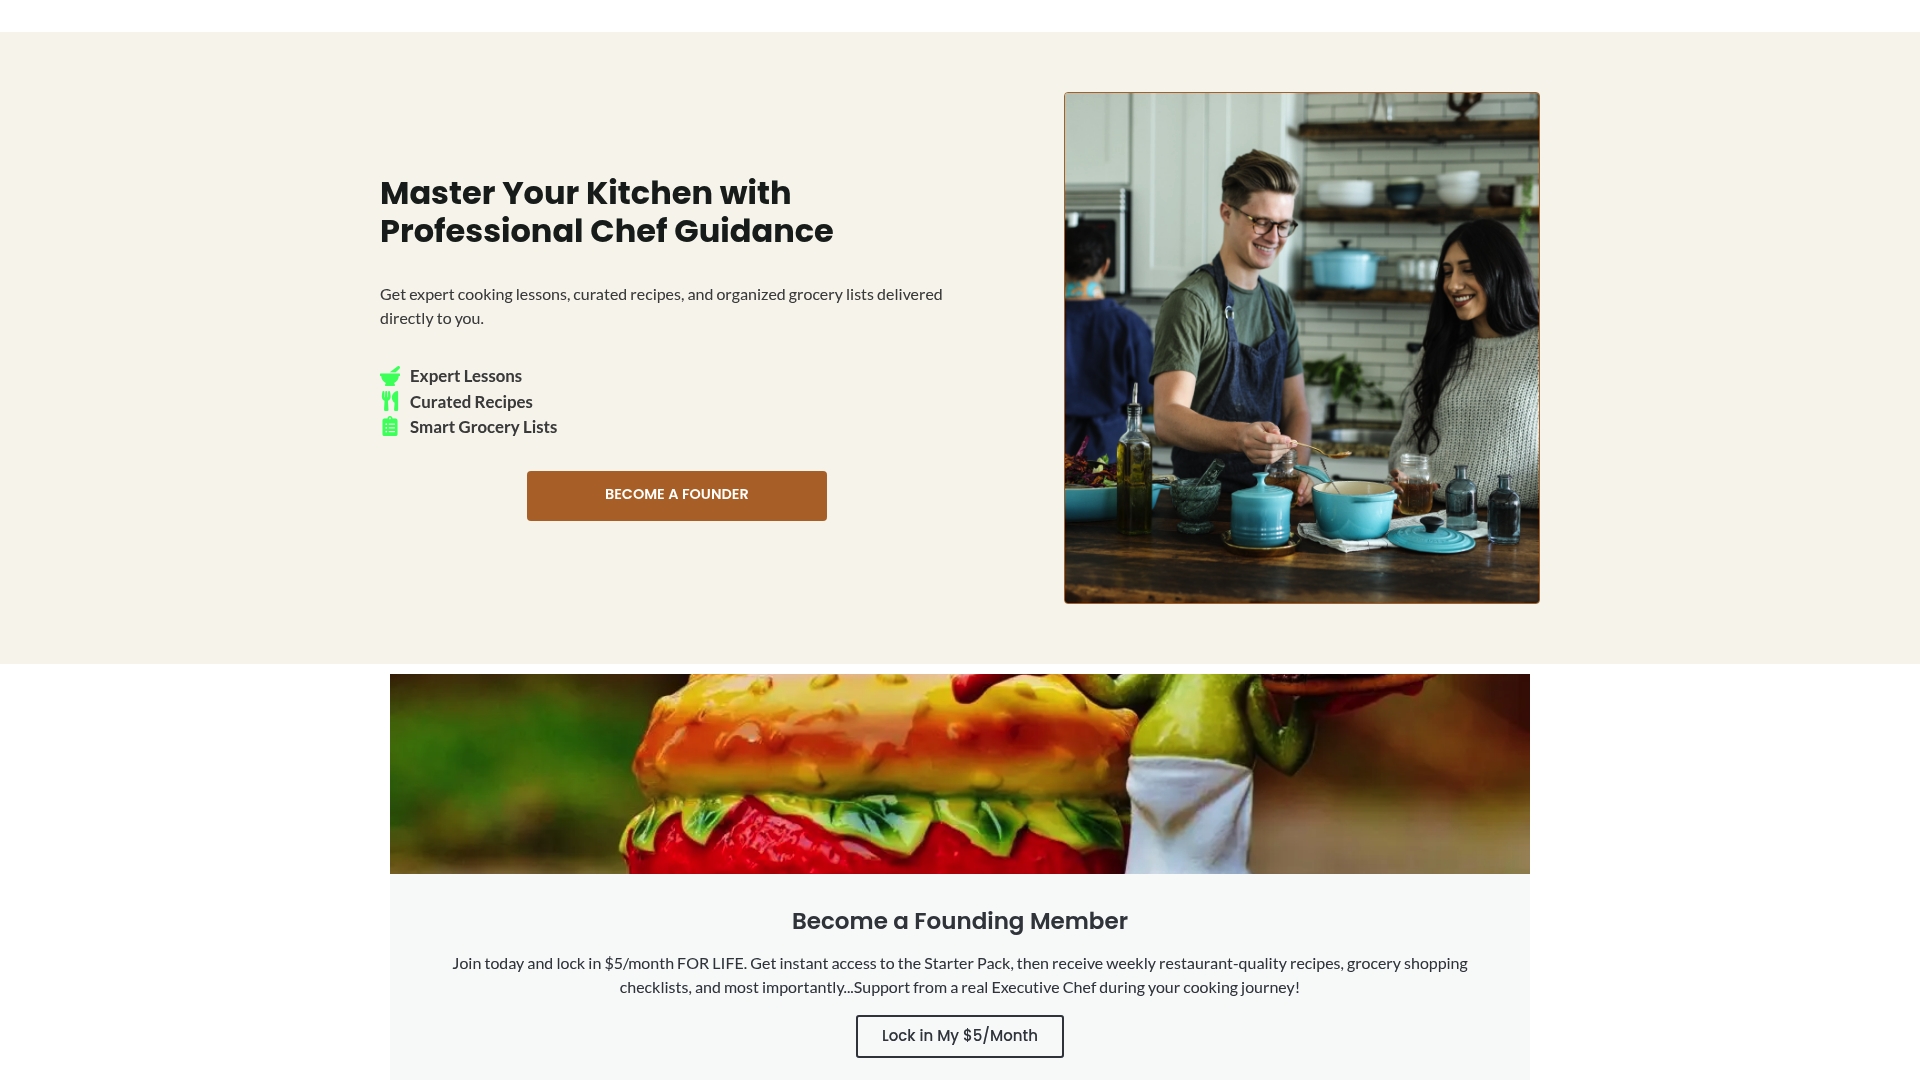
The membership works alongside everything in this article. You've already got your minimal kit and your zones mapped out. What the membership adds is the weekly structure and a real person to ask when something goes wrong at the stove, instead of guessing your way through a YouTube comment section. If quick, workable weeknight tips also help your routine, Wild Foodz's meal prep guide pairs well with the friction-reduction approach covered here. Cooking solo for now? Dinner Roulette Pro's meal planning guide for one is worth a look too.
Check out the Adulting in the Kitchen membership and get your first week of recipes and your grocery checklist as soon as you sign up.
Sources
These are the guides and references that shaped the recommendations in this article, worth a read if you want to dig deeper into any single topic:
- The Kitchn: 5 things we can learn about kitchen zones
- The Strategist: How to build a starter kitchen
For hands-on tool identification, our own beginner's guide to kitchen utensils and easy recipes to build real skills are good next stops.